Mastering Android Camera Focus: Your Ultimate Guide to Sharp Photos in 2025
In the world of smartphone photography, capturing a sharp, clear image is everything. The key to achieving this clarity lies in understanding and mastering your android camera focus. Whether you are snapping quick everyday moments or aiming for more artistic shots, precise focus makes all the difference. Blurry photos can be frustrating, especially when you think you’ve got the perfect shot. This guide will help you unlock the full potential of your Android device’s camera, ensuring your photos are always crisp and captivating. We will dive deep into autofocus, manual controls, troubleshooting common issues, and advanced techniques to elevate your mobile photography in 2025.
What is Android Camera Focus and Why Does It Matter?
At its core, camera focus is about sharpness. When you focus on a subject, you are telling your camera which part of the scene should appear clearest. Everything else in the image might become progressively softer or blurred. This creates a visual hierarchy, drawing the viewer’s eye to your intended subject. Without proper android camera focus, even the best compositions can fall flat. A well-focused image conveys professionalism and attention to detail. It helps tell your story more effectively.
For instance, imagine trying to photograph a friend in a crowded park. If the camera focuses on the background trees instead of your friend, the photo loses its impact. Understanding how to direct your Android’s focus ensures your main subject is always the star. This skill is fundamental for anyone serious about smartphone photography.
The Basics of Focus: Depth of Field
Before diving into focus modes, let’s briefly discuss ‘depth of field’ (DoF). Depth of field refers to the range of distance in a photo that appears acceptably sharp. A ‘shallow’ depth of field means only a small portion of the image is in focus, with the foreground and background blurred. This is great for portraits. A ‘deep’ depth of field means a larger portion of the image is sharp, from near to far. This is ideal for landscapes.
While Android phone cameras have smaller sensors and fixed apertures compared to traditional cameras, they still offer ways to manipulate DoF. Portrait modes, for example, use software to simulate a shallow depth of field, creating that popular ‘bokeh’ effect. Understanding DoF helps you consciously choose your android camera focus to achieve specific visual effects.
Mastering Autofocus on Your Android Device
Most of the time, your Android camera uses autofocus (AF) to get a sharp shot. This technology automatically adjusts the lens to bring your subject into focus. Modern Android phones feature incredibly fast and accurate autofocus systems, but knowing how they work can help you get even better results. Your phone constantly analyzes the scene to determine the best focus point.
Autofocus is convenient and efficient for most situations. It allows you to point and shoot, confident that your subject will be sharp. However, it’s not always perfect. Sometimes, your phone might focus on the wrong object, especially in busy scenes. This is where understanding its limitations and how to guide it becomes crucial for achieving optimal android camera focus.
Different Autofocus Technologies
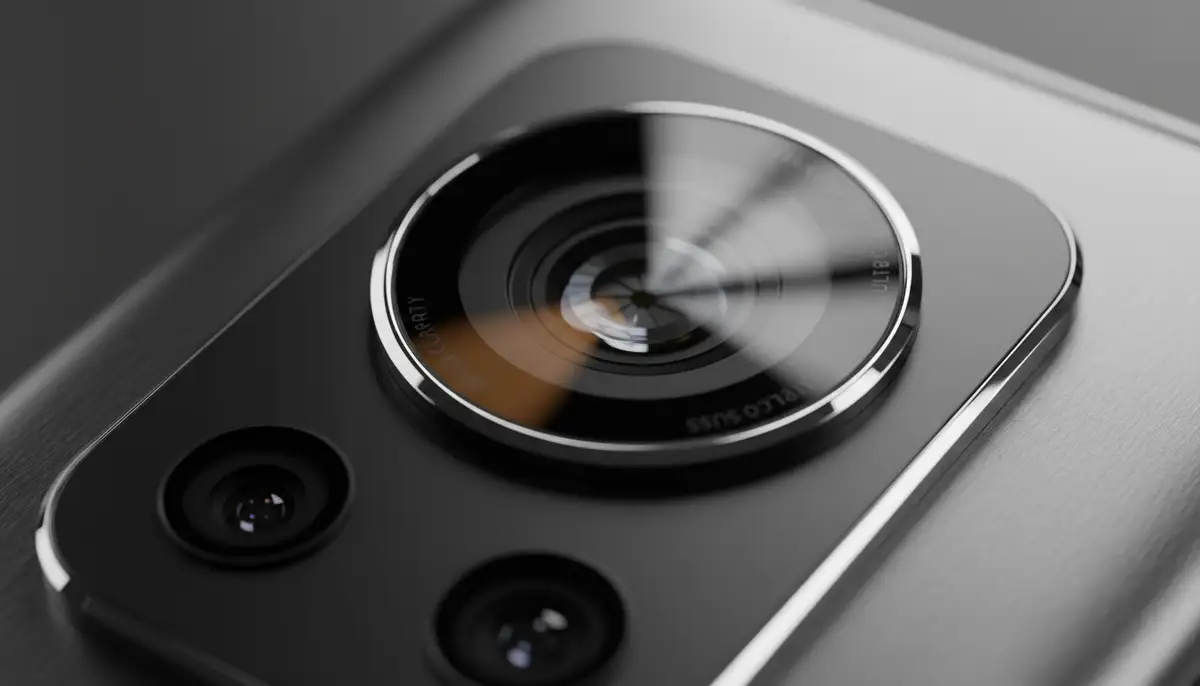
Android phones use various autofocus technologies, often in combination, to achieve speed and accuracy. Here are the main types you’ll encounter:
- Phase Detection Autofocus (PDAF): This is a very fast and accurate method. It works by splitting the light coming into the lens, analyzing the phase difference, and quickly determining how much the lens needs to move to achieve focus. Many high-end Android phones use PDAF.
- Contrast Detection Autofocus (CDAF): This method works by analyzing the contrast in the image. The camera adjusts the lens until it finds the point of highest contrast, which indicates sharp focus. CDAF is generally more accurate in low light but can be slower than PDAF.
- Laser Autofocus (LAF): Some Android phones include a small laser emitter that measures the distance to the subject. This provides extremely fast and accurate focusing, especially in low-light conditions where PDAF and CDAF might struggle.
- Dual Pixel Autofocus: An advanced form of PDAF where every pixel on the sensor is used for both imaging and phase detection. This results in incredibly fast and smooth autofocus across the entire frame.
Understanding Continuous vs. Single Autofocus
Your Android camera app usually offers different autofocus modes. The two most common are Single Autofocus (AF-S) and Continuous Autofocus (AF-C). Knowing when to use each can significantly improve your focus accuracy.
Single Autofocus (AF-S) locks the focus once it’s achieved. This is perfect for stationary subjects like landscapes, portraits, or still life. You tap to focus, and the focus remains fixed until you take the shot or tap elsewhere. Continuous Autofocus (AF-C), often called ‘Tracking Autofocus’ on Android, constantly adjusts the focus as your subject moves. This is ideal for capturing children playing, pets, or sports. Your phone’s camera will try to keep the moving subject sharp even if it changes distance.
Taking Control with Manual Android Camera Focus
While autofocus is excellent for most situations, there are times when you need more precise control. This is where manual android camera focus comes into play. Manual focus allows you to precisely set the focal point yourself, overriding the camera’s automatic decisions. It’s an invaluable tool for creative shots, challenging lighting, or when your phone’s autofocus struggles.
You might want to use manual focus for macro photography, where focusing on tiny details is critical. It’s also useful for low-light scenes where autofocus can ‘hunt’ or struggle to lock on. Additionally, if you’re trying to achieve a specific artistic blur, manual focus gives you the power to pinpoint exactly what you want sharp. Many Android phones offer a ‘Pro’ or ‘Manual’ mode within their native camera app, which provides a slider or control for manual focus. For more on how to select a manual focus point by simply tapping on the screen, check out this Google support thread.
Common Android Camera Focus Problems and How to Solve Them
Even with advanced technology, you might encounter issues with your Android camera’s focus. Don’t worry, many common problems have simple solutions. Identifying the root cause is the first step to getting back to taking sharp photos. We will explore some frequent focus frustrations and provide actionable steps to resolve them, ensuring your android camera focus is always on point.
Blurry Images Despite Focus
You tap on your screen, see the focus square, and take the shot, only to find the image is blurry. This is a common and frustrating problem. Several factors can contribute to this issue. One of the most overlooked causes is a dirty camera lens. Fingerprints, dust, and smudges can significantly impair your camera’s ability to focus accurately, leading to soft or hazy images. Always make sure your lens is spotless before shooting. For a comprehensive guide to fixing blurry photos, check out our article on why your Android camera is blurry.
Another common culprit is camera shake. Even a tiny movement during exposure can introduce blur, especially in lower light conditions. This is often mistaken for a focus problem. Additionally, if your phone’s software is glitching or if the camera app has cached bad data, it can affect focus performance. Sometimes, a simple restart of the app or phone can clear these issues. If you own a Samsung Galaxy phone and are experiencing focus problems, you can find specific troubleshooting steps in this Samsung support guide on camera focus issues.
Focus Hunting and Lag
‘Focus hunting’ is when your camera struggles to lock onto a subject, constantly moving the lens back and forth. This often happens in low light, with low-contrast subjects, or in very busy scenes. The camera is trying its best to find a point of maximum contrast but can’t quite settle. This can lead to missed shots or significant delays. Focus lag, on the other hand, is when there’s a noticeable delay between tapping to focus and the camera actually achieving focus.
To combat focus hunting, try moving to an area with better lighting. Point your camera at a subject with clear edges or good contrast. Tapping on a specific, well-lit part of your subject can also help. For focus lag, ensure your phone’s storage isn’t full and that you’ve closed background apps. A clean camera lens and good lighting are always your best friends for quick and accurate android camera focus.
Advanced Android Camera Focus Techniques
Once you’ve mastered the basics, you can explore more advanced techniques to truly elevate your Android photography. These methods give you greater creative control and help you capture stunning images that stand out. Learning these tricks will allow you to confidently tackle diverse shooting scenarios, from fast-moving action to intricate close-ups, always with optimal android camera focus.
Tap-to-Focus and Exposure Lock
This is arguably the most fundamental advanced technique. When you open your Android camera app, simply tap on the screen where your main subject is located. Your phone will then adjust its focus to that specific point. Many Android phones also combine this with exposure adjustment. So, tapping on a bright area will darken the overall image, and tapping on a dark area will brighten it.
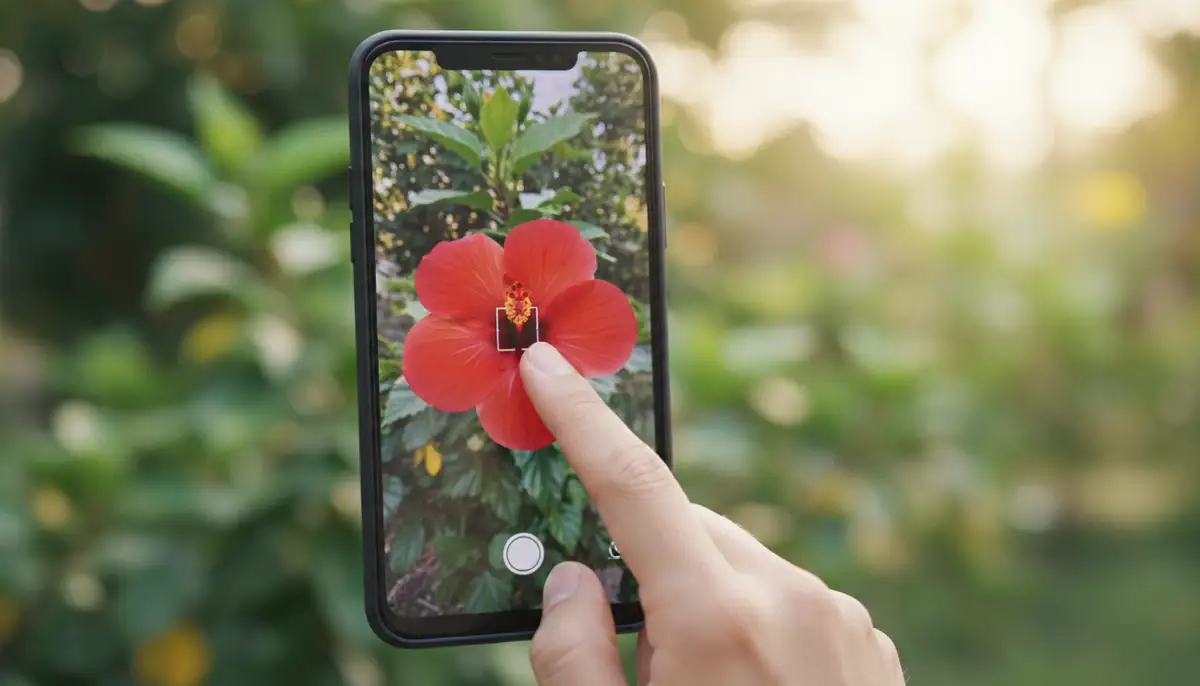
Even better, after you tap to focus, hold your finger down on the screen. Most Android cameras will then ‘lock’ both the focus and exposure (often indicated by a small lock icon or a message like ‘AE/AF Lock’). This means you can recompose your shot without losing your chosen focus or exposure settings. This is incredibly useful for creative compositions, allowing you to focus on your subject and then shift the frame slightly for a better angle, all while maintaining precise android camera focus.
Tracking Autofocus for Moving Subjects
As mentioned earlier, many modern Android phones offer a ‘tracking autofocus’ feature. This is particularly useful when photographing subjects that are moving. Instead of constantly re-tapping to focus, you can often tap once on a moving subject, and the camera will attempt to follow and keep it in focus as it moves across the frame. This is a game-changer for action shots or candid moments.
To use tracking autofocus, open your camera app and look for an option to enable it (sometimes it’s automatic in certain modes). Then, simply tap on your moving subject. A small box or outline will typically appear around the subject, indicating that the camera is tracking it. Keep your phone steady and follow the subject, and the camera will handle the focus adjustments, helping you achieve sharp images of dynamic scenes.
Focus Peaking and Magnification (If Available)
For those who demand ultimate precision with manual focus, some advanced Android camera apps or phone models offer ‘focus peaking’ and ‘magnification.’ Focus peaking highlights the in-focus areas of your image with a colored overlay (e.g., red or green). This visual cue makes it much easier to see exactly what is sharp, especially on a small smartphone screen. It takes the guesswork out of manual focus.
Magnification, on the other hand, temporarily zooms into a portion of your image while you are manually focusing. This allows you to see fine details and adjust the focus ring with greater accuracy. These features are typically found in ‘Pro’ or ‘Manual’ modes of native camera apps or in powerful third-party solutions. Apps like Camera ZOOM FX, a powerful Android photography app, often provide these professional controls, allowing for incredibly precise android camera focus.
Optimizing Your Android Camera Focus Settings for Best Results
Your Android camera comes with a variety of settings that can influence how and where it focuses. Diving into these settings can help you tailor your camera’s behavior to different shooting scenarios. Understanding these options empowers you to make informed choices, leading to consistently better and sharper photographs. It’s not just about pointing and shooting; it’s about smart configuration.
Exploring Camera Modes and Their Impact on Focus
Different camera modes are designed for different purposes, and they often come with pre-configured focus behaviors. Here’s how some common modes affect your focus:
- Photo Mode: The standard mode, usually employing a general-purpose autofocus system. Tap-to-focus is usually available here.
- Portrait Mode: Often uses a wider aperture (or software simulation) to create a shallow depth of field, blurring the background while keeping the subject sharp. Focus is usually prioritized on faces.
- Macro Mode: Designed for extreme close-ups. This mode often adjusts the lens for very short focusing distances, allowing you to get incredibly near to tiny subjects. Manual focus is often preferred here.
- Pro/Manual Mode: Gives you full control over focus (manual focus slider), ISO, shutter speed, and white balance. This is where you can fine-tune your android camera focus precisely.
- Video Mode: Typically uses continuous autofocus to keep subjects sharp as they move during recording. Some phones allow you to tap to focus during video, but it might ‘pump’ or search for focus.
The Critical Role of Lighting
Lighting is one of the most crucial factors affecting your camera’s ability to focus. Autofocus systems rely on contrast to determine sharpness. In low-light conditions, there’s less contrast, making it harder for the camera to lock onto a subject. This often leads to focus hunting or completely missed focus. Always try to shoot in well-lit environments for the best focus performance.
If you’re in a dimly lit area, try to find a light source to illuminate your subject. Even a small amount of additional light can make a huge difference. Avoid harsh backlighting, which can confuse the camera’s meter and focus system. Understanding how light interacts with your subject is key to achieving consistent and accurate android camera focus. For more insights into smartphone camera settings, including how they relate to focus, you might find this New York Times article on iPhone and Google Pixel camera settings helpful, even if it focuses on other brands.
| Focus Mode | Best Scenario | Focus Behavior |
|---|---|---|
| Auto Mode | Everyday shots, quick captures | General-purpose AF, tap to focus available |
| Portrait Mode | People, pets, isolating subjects | Prioritizes faces, background blur (bokeh) |
| Macro Mode | Close-ups of small objects | Very short focusing distance, often requires manual fine-tuning |
| Pro/Manual Mode | Creative control, challenging light | Full manual focus control, focus peaking often available |
| Tracking AF | Moving subjects (sports, kids) | Continuously adjusts focus on a selected moving target |
Leveraging Third-Party Apps for Superior Android Camera Focus
While native camera apps have improved dramatically, third-party camera applications often provide a level of control that goes beyond what’s built-in. These apps are designed for photographers who want more manual options, advanced features, and greater flexibility. They can unlock hidden potential in your phone’s camera hardware, especially when it comes to precise android camera focus.
Apps like Camera ZOOM FX offer features such as full manual control over focus, exposure, ISO, and shutter speed. They often include focus peaking, a live histogram, and advanced grid lines that are not always present in stock apps. These tools empower you to make more informed decisions and achieve professional-looking results directly from your phone. While popular apps like VSCO, PicsArt, and Camera360 offer great editing features and some camera controls, dedicated camera apps often excel in providing granular control over the capture process itself, including superior focus management. For more ways to enhance your mobile photography, explore our comprehensive guide to mastering your Android camera.
Essential Tips for Sharper Android Camera Focus
Beyond understanding the technical aspects, a few practical habits can significantly improve your focus success rate. These tips are easy to implement and will make a noticeable difference in the sharpness and overall quality of your photos. Incorporate these into your routine for consistently excellent android camera focus.
Clean Your Lens Regularly
This cannot be stressed enough. Your phone spends a lot of time in your pocket, bag, or in your hands. It’s inevitable that the lens will pick up dust, fingerprints, and smudges. Even a tiny bit of grime can diffuse light and prevent your camera from focusing sharply. Use a soft, lint-free microfiber cloth to gently wipe your camera lens before every important shot. Avoid using harsh chemicals or abrasive materials.
Use Good Lighting
As we discussed, light is crucial for autofocus. Always try to shoot in well-lit conditions. Natural light is almost always the best option. If you’re indoors, move closer to a window. If natural light isn’t available, use artificial light sources strategically. Good lighting provides the contrast your camera needs to quickly and accurately lock onto your subject, ensuring optimal android camera focus.
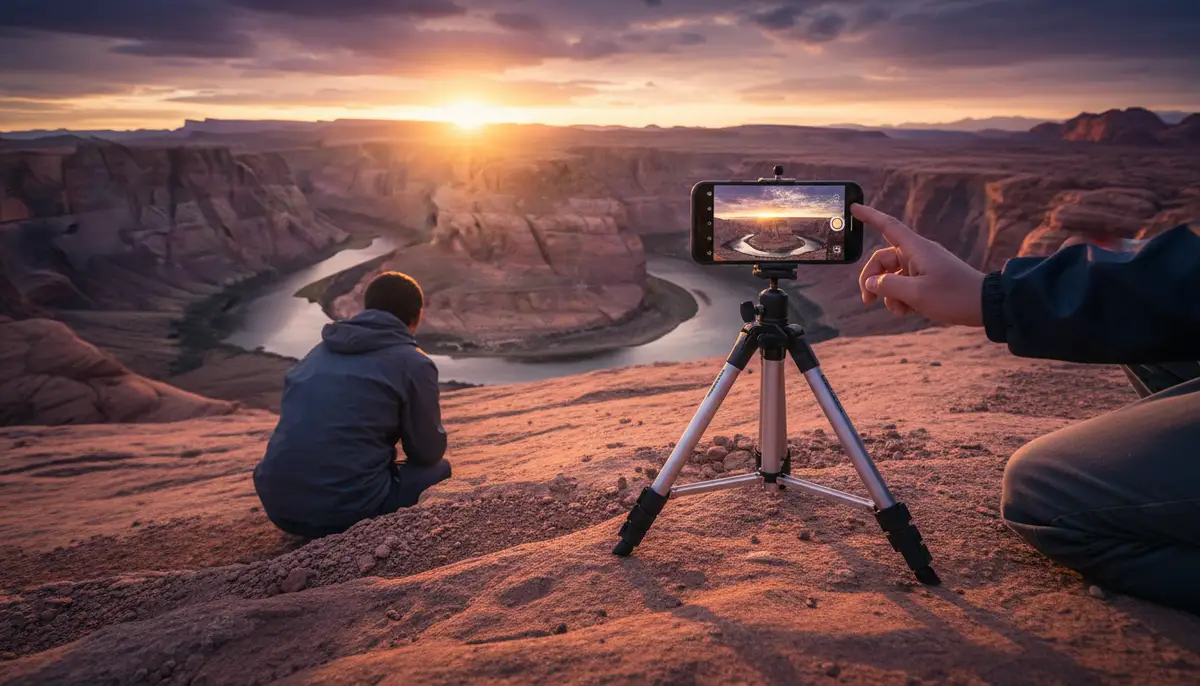
Steady Your Hand or Use a Tripod
Camera shake is a leading cause of blurry photos, even when focus is technically achieved. Hold your phone with both hands, brace your elbows against your body, or lean against a stable surface. For truly critical shots, especially in low light or when using zoom, invest in a small smartphone tripod. This eliminates all camera shake, allowing your phone to capture the sharpest possible image. For visual tips on achieving sharp focus, watch this helpful video:
.
Practice and Experiment
The best way to master your Android camera’s focus is to practice. Take your phone out and experiment with different focus modes, lighting conditions, and subjects. Try manual focus in various scenarios. Pay attention to how your camera reacts and what works best. The more you practice, the more intuitive android camera focus will become, and the better your photos will be.
Conclusion
Mastering android camera focus is a fundamental skill for any aspiring mobile photographer. By understanding how autofocus works, when to use manual control, and how to troubleshoot common issues, you can significantly improve the quality and sharpness of your photos. Remember to keep your lens clean, utilize good lighting, and stabilize your shots.
Whether you rely on your phone’s smart autofocus or take full manual control with a powerful app like Camera ZOOM FX, consistent practice will make you a more confident and capable photographer. Don’t let blurry photos ruin your memories. Take control of your focus and start capturing stunning, crystal-clear images every time. For even more advanced features and to ensure every shot is a stable shot camera moment, explore dedicated photography tools.