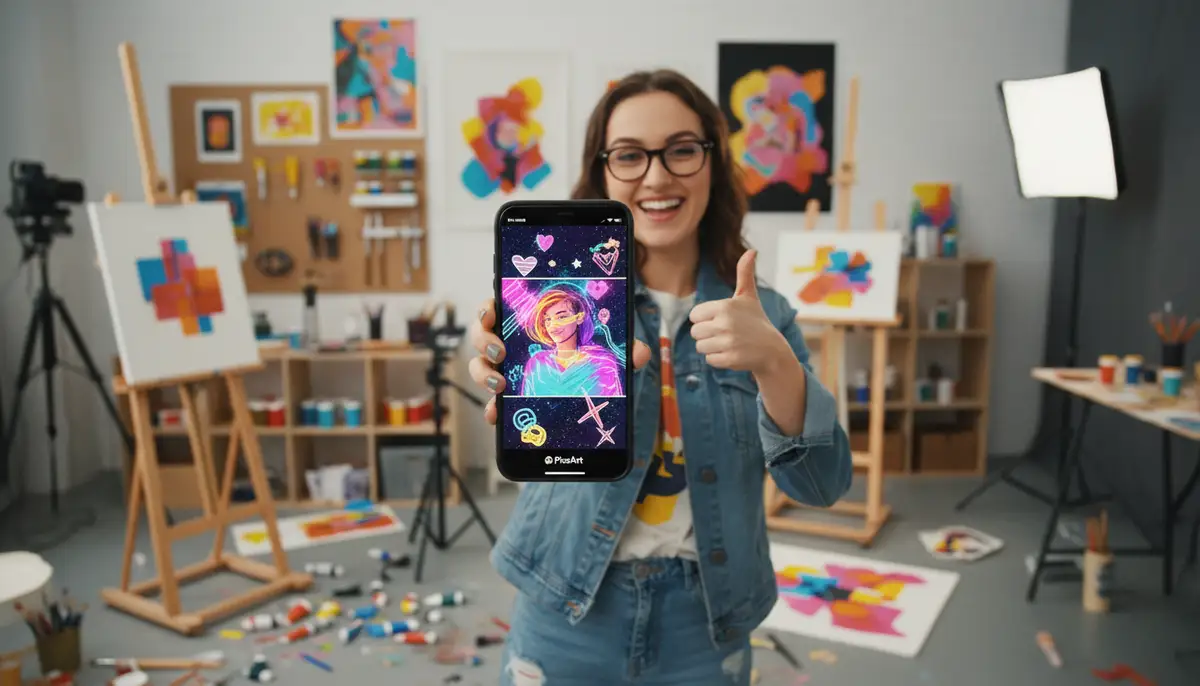
Unleash Your Creativity: A Deep Dive into How to Add Layers in PicsArt
In the fast-paced world of digital art and photography, layering is a game-changer. It transforms simple edits into complex, professional-looking masterpieces. If you’re a PicsArt user, understanding how to add layers in PicsArt is a fundamental skill. This comprehensive guide will walk you through every step, ensuring you master this powerful feature by 2025. You will learn to combine elements, create stunning compositions, and elevate your photo editing game. PicsArt has evolved into a robust mobile editing suite, and its layering capabilities are at the core of its creative potential.
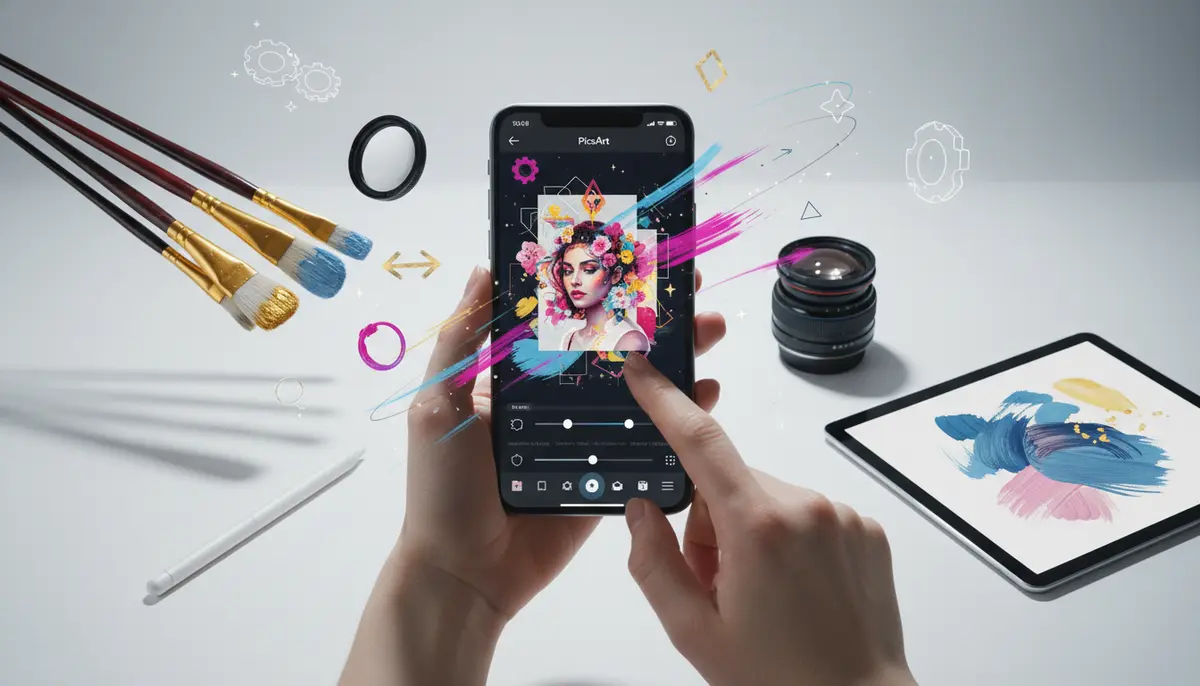
Layers allow you to work on different parts of your image independently. This means you can add photos, text, stickers, and effects without permanently altering your base image. It’s like having multiple transparent sheets stacked on top of each other, each holding a different part of your design. This non-destructive approach gives you immense flexibility. Let’s explore exactly how to add layers in PicsArt and unlock a new dimension of artistic expression.
What Are Layers and Why Are They Essential in PicsArt?
Think of layers as individual, transparent sheets. Each sheet can hold a different element of your design. One layer might have your main photo, another could have text, and a third might contain a graphic overlay. This separation is incredibly powerful. It means you can edit, move, or delete any element without affecting the others.
Why is this so important? For starters, it enables non-destructive editing. You can experiment freely, knowing you can always undo changes to a specific layer. Secondly, layers provide unparalleled control over your composition. You can adjust the opacity of one element, change its blending mode, or even completely remove it, all without disturbing the rest of your artwork. This level of precision is crucial for achieving polished results. Many popular editing apps, including solutions like Canva, Afterlight, and VSCO, utilize layering for similar reasons, but PicsArt offers a unique mobile-first approach.
Getting Started: The Foundation of How to Add Layers in PicsArt
Before you can master how to add layers in PicsArt, you need to begin a new project. The process is straightforward and consistent across most PicsArt versions in 2025. Follow these initial steps to set up your canvas.
- Open the PicsArt App: Locate the purple PicsArt icon on your mobile device and tap to open it.
- Start a New Project: At the bottom of the screen, you’ll see a large purple plus sign (+). Tap this to begin a new editing session.
- Select Your Base Image: You can choose to start with a photo from your gallery, a blank canvas, or one of PicsArt’s free-to-edit images. For most layering projects, you’ll start with a main photo.
Once your base image is loaded, you’re ready to start adding more elements. This is where the magic of layering truly begins. The ‘Add Photo’ feature is your primary tool for bringing in new images as separate layers. For a deeper dive into this specific feature, you can explore this guide on how to use the Add Photo feature in PicsArt. This will ensure you understand all the nuances of bringing external images into your project.
Step-by-Step: How to Add Layers in PicsArt for Photo Compositing
Now, let’s get into the specifics of how to add layers in PicsArt using the ‘Add Photo’ tool. This is the most common method for combining multiple images into a single composition. Imagine creating a surreal landscape or a dynamic portrait by merging different elements.
- Navigate to the Toolbar: Once your base image is open, look at the bottom toolbar. Scroll through the options until you find ‘Add Photo’.
- Select Your Layer: Tap ‘Add Photo’. Your device’s gallery will open. Choose the image you want to add as your first layer. You can select multiple images at once.
- Place and Adjust: The selected image will appear as a new layer on top of your base image. You can drag it to reposition, pinch to resize, and rotate it using the controls.
- Confirm Addition: Tap the checkmark icon at the top right to confirm its placement. This action ‘commits’ the layer to your project, but you can still edit it later.
Repeat these steps for every additional photo you wish to include. Each time you use ‘Add Photo’, PicsArt creates a new, independent layer. This allows for incredible flexibility. You are building your image piece by piece, layer by layer. Understanding how to add layers in PicsArt effectively means mastering this fundamental process.
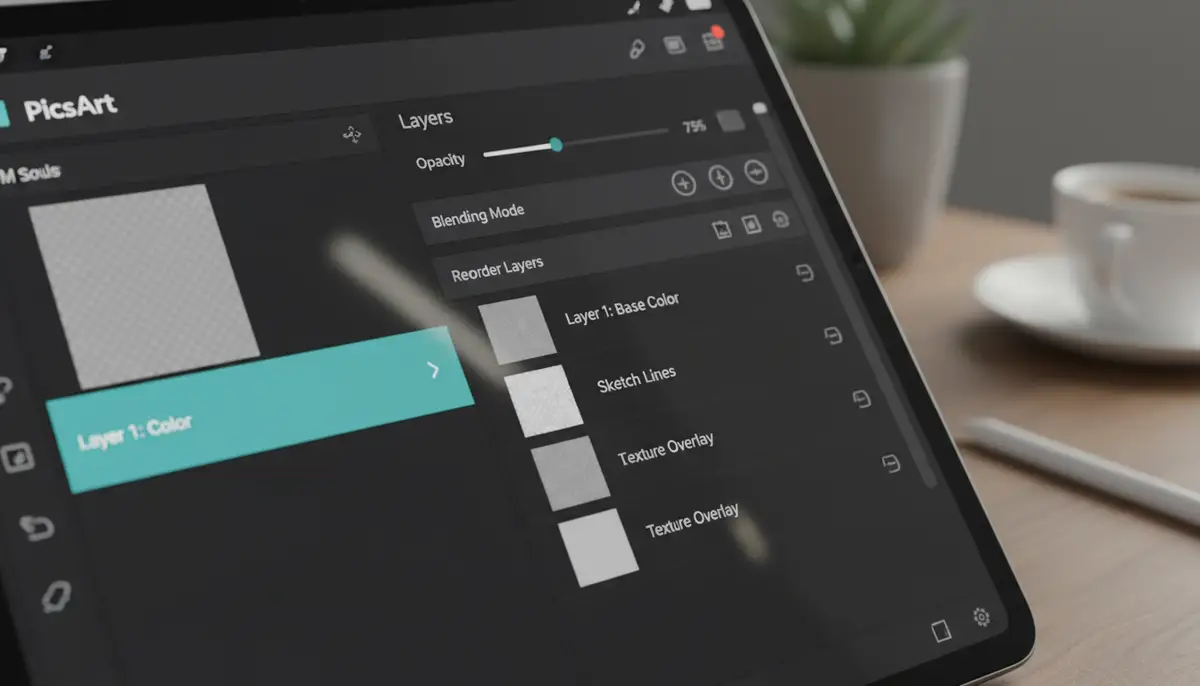
Working with the Layer Panel: Your Command Center
After you add layers in PicsArt, you’ll want to manage them. The layer panel is your central hub for controlling all your individual elements. This panel usually appears when you have multiple elements on your canvas or when you tap the layer icon.
- Accessing the Layer Panel: Look for the stacked squares icon, usually near the top right or within the main editing interface. Tapping this reveals all your active layers.
- Selecting a Layer: Tap on any layer in the panel to select it. Once selected, you can move, resize, or apply effects specifically to that layer.
- Reordering Layers: Drag and drop layers within the panel to change their stacking order. The topmost layer will appear on top of all others on your canvas.
- Adjusting Opacity: Each layer has an opacity slider. This controls how transparent or opaque the layer appears. Lowering the opacity can create subtle blending effects.
The layer panel is crucial for organizing complex edits. Keep your layers named (if possible) or mentally organized. This practice makes it easier to locate and adjust specific elements later. This is key to professional-level editing when you learn how to add layers in PicsArt.
Advanced Layering Techniques in PicsArt
Knowing how to add layers in PicsArt is just the beginning. To truly create stunning visuals, you need to explore advanced techniques. PicsArt offers a variety of tools that interact seamlessly with layers, allowing for intricate designs.
Adding Text, Stickers, and Shapes as Layers
It’s not just photos that can be layers. Text, stickers, and shapes also function as independent layers. This is fantastic for graphic design within your photos.
- Text Layers: Tap ‘Text’ from the bottom toolbar, type your message, choose your font and color. This automatically creates a new text layer.
- Sticker Layers: Select ‘Sticker’ and browse PicsArt’s vast library. Once chosen, it becomes a new layer.
- Shape Layers: Use the ‘Shape Mask’ or ‘Shape Crop’ tools to add geometric elements that act as their own layers.
Each of these elements can be manipulated just like a photo layer. You can resize, reposition, change opacity, and apply effects. This flexibility is a core reason why understanding how to add layers in PicsArt is so valuable for diverse creative projects.
Mastering Blending Modes
Blending modes dictate how one layer interacts with the layers beneath it. They can dramatically change the look and feel of your composite image. PicsArt offers a range of blending modes, each with a unique effect. Experimentation is key here.
| Blending Mode | Effect Description | Common Use Cases |
|---|---|---|
| Normal | Default mode; no blending applied. | Standard photo overlays, text, stickers. |
| Multiply | Darkens the image by multiplying colors; white areas become transparent. | Shadows, darkening effects, creating dramatic skies. |
| Screen | Lightens the image by screening colors; black areas become transparent. | Highlights, glowing effects, adding light leaks. |
| Overlay | Combines Multiply and Screen; increases contrast and saturation. | Enhancing contrast, color correction, adding texture. |
| Soft Light | Similar to Overlay but softer; subtle contrast and color adjustments. | Gentle color grading, subtle texture application. |
| Hard Light | More intense version of Overlay; strong contrast and color shifts. | Dramatic lighting, intense color changes. |
To apply a blending mode, select the desired layer, then look for the ‘Blend’ option in the toolbar. Tap it and cycle through the options to see the real-time effect. This is where your artistic vision truly comes to life when learning how to add layers in PicsArt.
Masking and Erasing for Precision
Sometimes you only want a part of a layer to be visible. This is where masking and erasing come in. They allow you to selectively reveal or hide portions of a layer without permanently deleting pixels.
- Using the Eraser Tool: Select a layer, then tap the ‘Eraser’ icon. You can adjust brush size, hardness, and opacity. Carefully erase unwanted parts of the layer.
- Applying a Mask: For more control, use ‘Shape Mask’ or ‘Free Crop’ to define specific areas. This is non-destructive, meaning you can refine the mask later.
Masking is particularly useful for seamlessly integrating elements. For instance, you can mask out the background of a person in one photo to place them onto a new background layer. This technique is fundamental to advanced photo manipulation and a key aspect of how to add layers in PicsArt professionally.
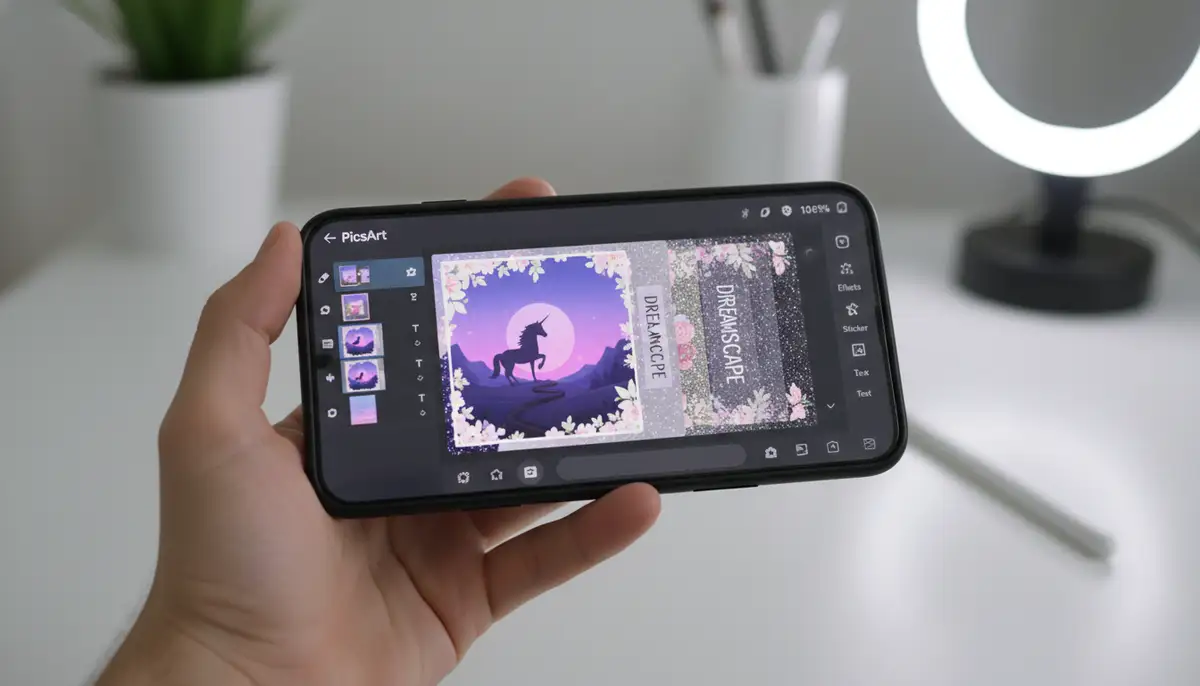
Creative Uses of Layers: Beyond Simple Overlays
Once you grasp how to add layers in PicsArt, a world of creative possibilities opens up. It’s not just about stacking images; it’s about crafting visual stories and unique aesthetics. Let’s explore some inspiring applications.
Creating Double Exposure Effects
Double exposure is a classic photography technique that layers two images to create a single, ethereal composite. With PicsArt layers, this effect is surprisingly easy to achieve. You typically start with a portrait, then add a nature scene or abstract texture as a second layer. Adjust the blending mode (often ‘Screen’ or ‘Lighten’) and opacity to merge the two images seamlessly. This creates a dreamy, artistic look that captivates viewers.

Designing Dynamic Collages
Forget rigid grids. Using layers, you can build free-form collages with overlapping elements, varying sizes, and unique arrangements. Each photo, sticker, or text element can be its own layer, giving you total creative freedom. You can even add borders or shadows to individual layers for a more tactile feel. This method allows for a much more artistic and less structured approach to collage making.
Integrating Drawings and Sketches
PicsArt’s drawing tools are robust, and they work beautifully with layers. You can sketch directly onto a transparent layer above your photo, or even import your own digital drawings. This allows you to add hand-drawn elements, annotations, or even create unique digital paintings. For more detailed insights on this, check out this article on how to integrate drawing into your photos. It’s a fantastic way to personalize your images.
Applying Overlays for Mood and Texture
Overlays are transparent images or textures that you place over your main photo to add a specific mood, light effect, or texture. Think of light leaks, dust and scratches, or subtle color gradients. When you learn how to add layers in PicsArt, you can easily add these overlays. Simply add the overlay as a new layer, then experiment with blending modes like ‘Screen’, ‘Overlay’, or ‘Soft Light’ to achieve the desired effect. This technique is widely used to give photos a vintage, cinematic, or artistic touch. For a comprehensive guide on this, explore how to apply overlays for mobile editing with PicsArt and other free apps.
Managing Your Layers: Organization and Efficiency
As your projects become more complex, efficient layer management becomes critical. Knowing how to add layers in PicsArt is one thing, but organizing them is another. A cluttered layer panel can slow down your workflow and make precise edits difficult.
Reordering, Duplicating, and Deleting Layers
- Reordering: In the layer panel, simply tap and hold a layer, then drag it up or down to change its position in the stack. This alters which elements appear on top.
- Duplicating: To create an exact copy of a layer, select it in the layer panel and look for a ‘Duplicate’ option (often represented by two overlapping squares or a plus sign). This is useful for symmetry or applying multiple effects.
- Deleting: If a layer isn’t working out, select it and tap the trash can icon. This removes the layer without affecting others.
These basic management tools are your friends. Use them frequently to keep your workspace tidy and your creative process smooth. Efficient management is a hallmark of mastering how to add layers in PicsArt.
Tips for a Clean Workspace
- Name Your Layers: If PicsArt allows (or mentally assign names), give descriptive names to complex layers. This helps you quickly identify elements.
- Group Similar Layers: While PicsArt might not have a formal ‘grouping’ feature like desktop software, you can achieve a similar effect by keeping related layers together in the stack.
- Flatten When Necessary: If you’re happy with a section and don’t need to edit individual layers within it anymore, you can ‘flatten’ them into a single layer. Be cautious, as this is usually irreversible.
Maintaining a clean workspace is a habit that will pay off significantly. It reduces frustration and allows you to focus on the creative aspects of your editing. For a visual walkthrough of these processes, watch this helpful tutorial:
. It provides clear steps on managing your layers effectively.
Troubleshooting Common Layering Issues
Even with a good understanding of how to add layers in PicsArt, you might encounter occasional hiccups. Knowing how to troubleshoot these common problems will save you time and frustration.
Layer Not Appearing or Behaves Unexpectedly
- Check Layer Visibility: Ensure the layer isn’t hidden. Some apps have an ‘eye’ icon next to layers to toggle visibility.
- Adjust Opacity: The layer’s opacity might be set to 0%. Increase it to make the layer visible.
- Inspect Blending Mode: Certain blending modes can make a layer appear invisible if its colors don’t interact as expected with layers below.
- Layer Order: Make sure the layer isn’t hidden underneath a fully opaque layer above it in the stack.
Performance Issues and Slowdowns
Working with many high-resolution layers can be demanding on your device’s resources. If PicsArt starts to lag or crash, consider these solutions. Close other apps running in the background to free up RAM. Reduce the resolution of some layers if absolute sharpness isn’t needed for every element. Saving your project frequently is also a good habit. For capturing high-quality initial images that perform well in editing apps, consider using a robust photography app like Camera ZOOM FX. It offers professional controls and fast shooting performance, ensuring your base images are optimized for layering.
Saving Problems
If you’re having trouble saving your layered masterpiece, check your device’s storage. A full storage can prevent PicsArt from saving large files. Also, ensure your internet connection is stable if you’re saving to the cloud or sharing directly from the app. Sometimes, simply restarting the app and trying again can resolve minor glitches. Understanding these common pitfalls will make your journey of how to add layers in PicsArt much smoother.
Comparing PicsArt Layers to Other Editing Solutions
While desktop software like Adobe Photoshop offers incredibly advanced layering capabilities, PicsArt excels in providing powerful, intuitive tools directly on your mobile device. Many users wonder how PicsArt stacks up against other mobile-first solutions when it comes to how to add layers in PicsArt.
Apps like Canva are fantastic for graphic design and quick composites, often offering templates that simplify the layering process. However, PicsArt provides more granular control over individual photo layers, including a wider array of blending modes and precise masking tools. Similarly, VSCO focuses heavily on filters and subtle adjustments, while Afterlight offers a clean interface for basic layering and light effects. PicsArt often strikes a balance, providing a comprehensive suite for both photo manipulation and graphic design, all accessible from your phone or tablet.
The key advantage of PicsArt is its accessibility. You don’t need a powerful computer or extensive training to start creating complex images. The mobile-first design means you can edit on the go, making it a favorite for content creators and casual users alike. Its continuous updates ensure it stays competitive, offering features that rival even some desktop applications in terms of creative potential.
Best Practices for Mastering How to Add Layers in PicsArt
To truly become proficient in using layers, adopt these best practices. They will not only improve your workflow but also the quality of your final edits. Mastering how to add layers in PicsArt involves more than just knowing the steps; it’s about developing an artistic approach.
- Plan Your Composition: Before you start adding layers, have a rough idea of your desired outcome. Sketch it out or visualize it. This saves time and prevents aimless editing.
- Work Non-Destructively: Always aim to use tools that allow for adjustments later. Masks are better than permanent erasures. Keep original layers intact if possible.
- Experiment with Blending Modes: Don’t stick to ‘Normal’. Explore different blending modes to discover unique interactions between your layers. They can completely transform your image.
- Adjust Opacity and Position Precisely: Small adjustments to opacity and the exact placement of layers can make a huge difference in realism and aesthetic appeal.
- Save Frequently: PicsArt is generally stable, but saving your work often prevents loss of progress, especially with complex, multi-layered projects.
- Use High-Quality Source Images: The quality of your layers directly impacts the final output. Start with sharp, well-exposed photos.
Additionally, consider the technical aspects of your photography. Understanding your camera’s capabilities, such as checking its guide to your camera’s lifespan, can help you produce better base images. Just like keeping your apps updated for optimal performance, like knowing optimizing your Android app experience, staying current with PicsArt features will give you an edge.
The Future of Layering in Mobile Editing
The landscape of mobile photo editing is constantly evolving. As devices become more powerful and AI technology advances, we can expect even more sophisticated layering features to emerge in apps like PicsArt. Imagine AI-powered tools that automatically suggest optimal blending modes, intelligently mask subjects with a single tap, or even generate new background layers based on your existing image.
PicsArt will likely continue to integrate these cutting-edge innovations, making the process of how to add layers in PicsArt even more intuitive and powerful. The line between mobile and desktop editing will continue to blur, empowering creators to produce professional-grade work from anywhere. Apps like Camera ZOOM FX will also continue to evolve, offering advanced initial capture capabilities that provide the best possible raw material for these sophisticated mobile editing workflows.
Conclusion: Your Path to Layering Mastery in PicsArt
You now have a comprehensive understanding of how to add layers in PicsArt. From the basic steps of adding photos to mastering advanced blending modes and managing your workspace, you are equipped to tackle complex editing projects. Layers are the backbone of creative photo manipulation, offering unparalleled control and artistic freedom. They allow you to build images piece by piece, experiment without fear, and achieve results that go far beyond simple filters.
PicsArt continues to be a leading platform for mobile creators, constantly pushing the boundaries of what’s possible on a smartphone or tablet. By diligently practicing the techniques outlined in this guide, you will unlock your full creative potential. Don’t be afraid to experiment, make mistakes, and discover your unique style. The more you practice how to add layers in PicsArt, the more intuitive and rewarding the process will become. Keep creating, keep exploring, and let your imagination soar with PicsArt’s powerful layering tools. For those who love capturing action, explore our burst mode camera features to get the perfect shots ready for your layered masterpieces.