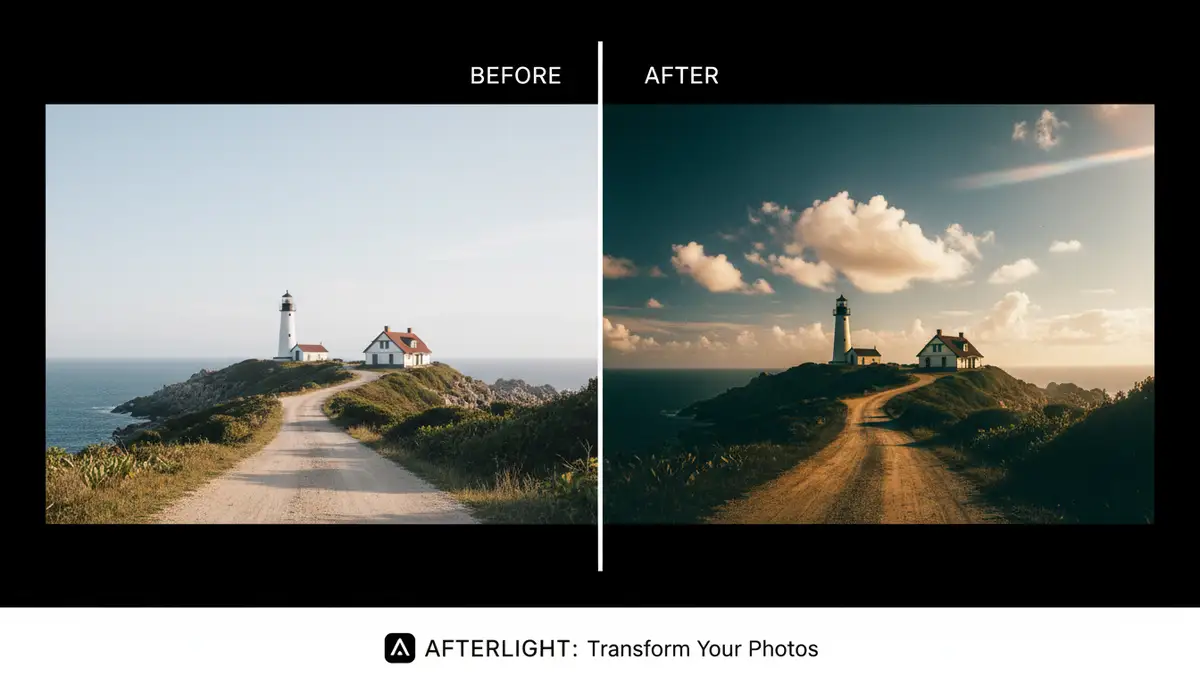
In 2025, mobile photography is more powerful than ever. Your smartphone is not just a camera; it’s a complete photo studio. Among the many editing tools available, the Afterlight app stands out. It’s a favorite for photographers wanting to add a touch of classic film aesthetics to their digital images. This guide will help you master the Afterlight app, transforming your everyday shots into stunning works of art.
Whether you’re a beginner or an experienced editor, the Afterlight app offers robust features to enhance your photos. We’ll cover everything from basic adjustments to advanced film-inspired effects. Get ready to unlock your creative potential and make your photos truly shine with the Afterlight app.
What is the Afterlight App?
The Afterlight app is a comprehensive photo editing application designed for mobile devices. It provides a wide array of tools, filters, and textures to give your photos a unique, often nostalgic, look. Unlike many generic photo editors, Afterlight focuses heavily on replicating the charm and imperfections of film photography. This makes the Afterlight app a go-to choice for those seeking a distinct vintage or cinematic style.
Since its inception, the Afterlight app has evolved significantly. It now includes advanced features like selective adjustments, custom presets, and a regularly updated library of film-inspired effects. It’s available on both iOS and Android platforms, making professional-grade editing accessible to almost everyone. The core philosophy of the Afterlight app is to empower users to create beautiful, expressive photos with ease.
Why Choose Afterlight in 2025?
With so many photo editing apps available, why should you pick the Afterlight app? In 2025, its unique blend of user-friendliness and powerful features sets it apart. The app excels at delivering authentic film looks, which many other apps struggle to replicate convincingly. You get that classic analog feel without needing a film camera.
Additionally, the Afterlight app boasts a clean, intuitive interface. This means you spend less time searching for tools and more time editing. Its performance is also top-notch, ensuring a smooth editing experience even with high-resolution images. For anyone serious about mobile photo editing, the Afterlight app offers a compelling package of creativity and control.
Getting Started with the Afterlight App
Starting your journey with the Afterlight app is straightforward. First, you need to download and install it on your device. Then, you can begin exploring its powerful interface.
Downloading and Installing the Afterlight App
The Afterlight app is readily available on major app stores. For iOS users, you can find it on the App Store, offering a complete, easy-to-use photo editing tool on mobile. Android users can download it from the Google Play Store, where you can utilize film presets, vintage filters, and effects to create retro film looks instantly.
Simply search for “Afterlight” and follow the installation prompts. Once installed, the Afterlight app will appear on your home screen, ready for use. Make sure your device meets the minimum system requirements for optimal performance.
Navigating the User Interface of the Afterlight App
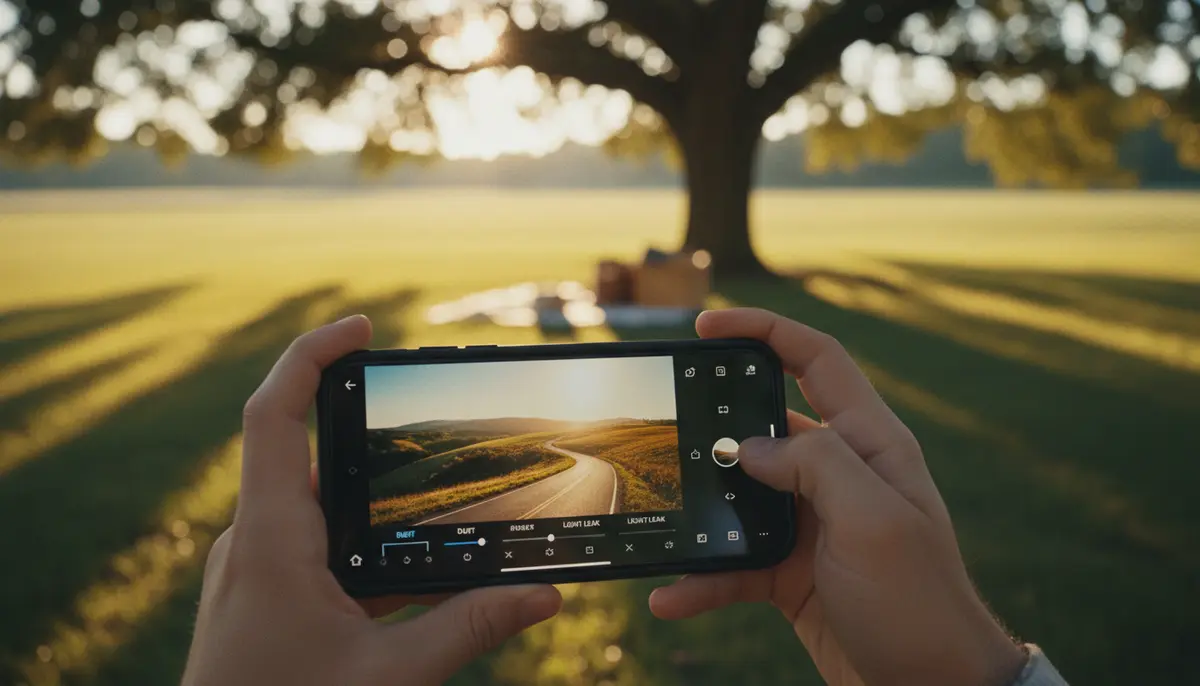
The Afterlight app prides itself on a clean and intuitive interface. When you open the app, you’ll typically see options to import a photo from your gallery or take a new one directly. Once a photo is loaded, the editing tools appear at the bottom or sides of the screen. These are usually categorized for easy access.
- Adjustments: For basic edits like exposure, contrast, and saturation.
- Filters: A vast collection of film-inspired presets.
- Textures: Overlays like light leaks, dust, and scratches.
- Frames: Various borders to add a finishing touch.
You can easily tap between categories. Sliders and dials allow precise control over each setting. The Afterlight app also includes an undo/redo history, so you can always revert changes. This makes experimentation worry-free.
Mastering Afterlight’s Core Editing Tools
The foundation of any great edit lies in understanding the basic tools. The Afterlight app provides a robust set of core adjustments that are essential for every photo. Mastering these will give you full control over your image’s look.
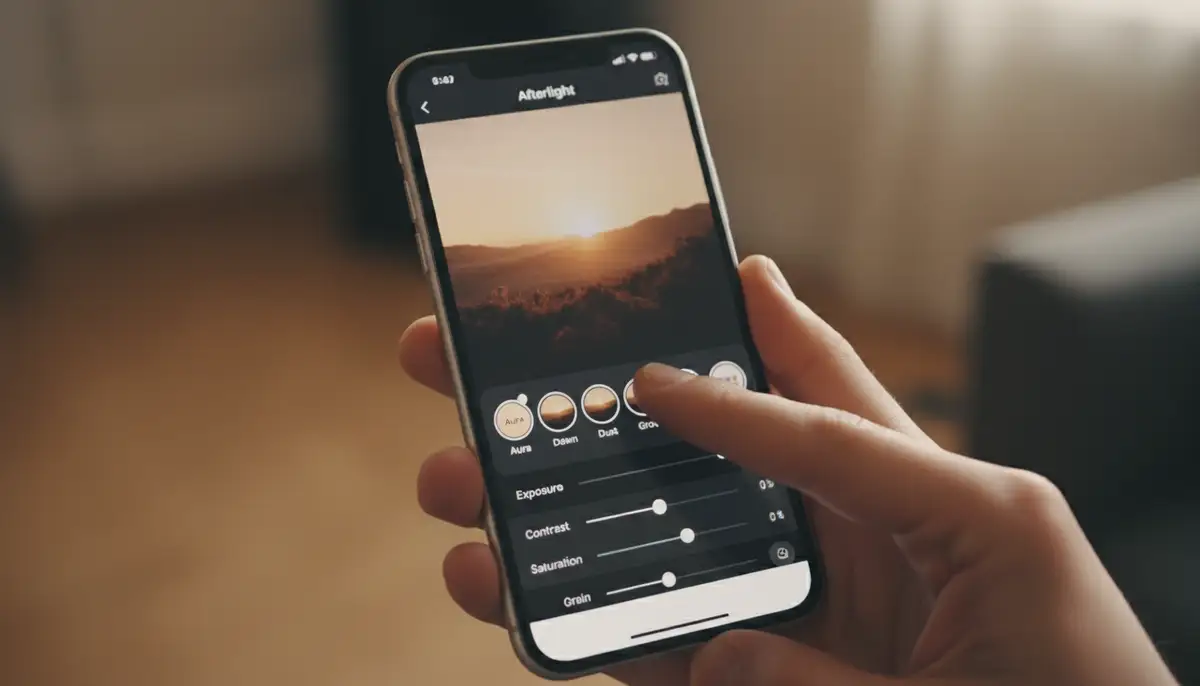
Basic Adjustments: Exposure, Contrast, and Saturation
These three adjustments are your starting point in the Afterlight app. Exposure controls the overall brightness of your image. Increase it to brighten a dark photo or decrease it to recover blown-out highlights. Contrast defines the difference between the light and dark areas. Higher contrast makes colors pop, while lower contrast creates a softer, flatter look.
Saturation adjusts the intensity of colors. Boost it for vibrant images or lower it for a more subdued, faded appearance. Be careful not to over-saturate, as it can make photos look unnatural. The Afterlight app allows you to fine-tune each of these with precise sliders, giving you total command over your image’s foundation.
Advanced Color Grading with the Afterlight App
Beyond basic saturation, the Afterlight app offers powerful color grading tools. You can adjust individual color channels (Red, Green, Blue) or use tools like ‘Hue,’ ‘Saturation,’ and ‘Luminance’ (HSL) sliders. This level of control lets you change specific colors in your image without affecting others. For example, you can make skies bluer or foliage greener.
The Afterlight app also includes ‘Color Shift’ and ‘Split Tone’ features. Split toning allows you to add different color tints to the highlights and shadows of your photo. This is a popular technique for creating cinematic or vintage looks. Experiment with these tools to give your photos a distinct color mood.
Cropping and Transformations
Composition is key to a great photo. The Afterlight app provides robust cropping and transformation tools. You can crop to standard aspect ratios (e.g., 16:9, 4:3, 1:1) or use a free crop for custom dimensions. The ‘Straighten’ tool helps correct crooked horizons, while ‘Rotate’ and ‘Flip’ offer further compositional control.
Additionally, the Afterlight app includes perspective correction. This is incredibly useful for architectural photos where lines might converge. You can adjust both horizontal and vertical perspective to make your buildings stand tall and straight. Proper use of these tools can dramatically improve your photo’s visual impact.
Unlocking Creative Potential with Afterlight’s Filters and Effects
This is where the Afterlight app truly shines. Its extensive collection of filters and effects is designed to infuse your photos with character and mood. You can achieve looks ranging from classic film to modern artistic styles.
Vintage Filters and Film Presets
The Afterlight app is famous for its curated collection of film presets. These aren’t just simple color overlays; they replicate the unique characteristics of various film stocks. You’ll find presets that mimic the faded greens of old Kodachrome or the rich blues of Fuji film. Each preset is carefully crafted to evoke a specific era or mood.
Applying these presets is simple. Just browse through the options and tap to preview. You can also adjust the intensity of each preset to fine-tune its effect. To see how to achieve these looks, you can
using Afterlight. Many users appreciate the instant nostalgia these filters provide. You can explore a curated collection of retro film looks instantly with the Afterlight app.
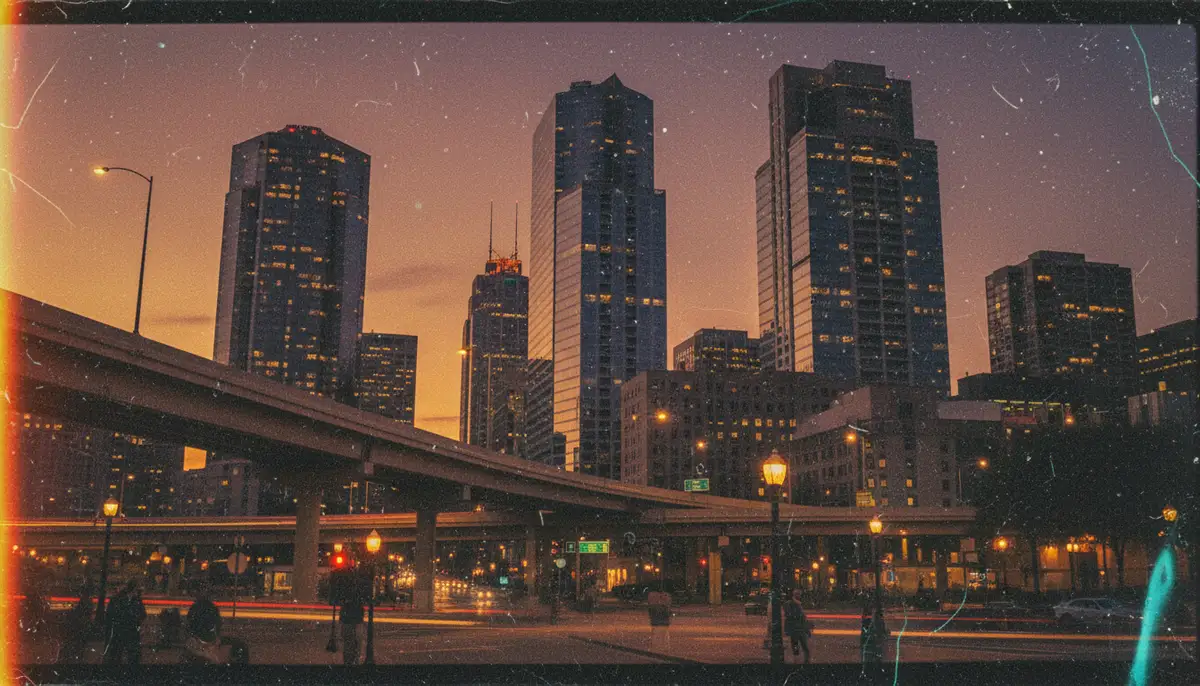
Light Leaks and Dust Overlays
To further enhance the film aesthetic, the Afterlight app offers a variety of light leaks and dust overlays. Light leaks simulate the accidental exposure of film to light, creating beautiful, often colorful, flares and glows. Dust and scratch overlays add subtle imperfections, making your digital photos look like they were developed from an old roll of film.
These effects are applied as textures. You can adjust their opacity and blending mode to integrate them seamlessly with your image. Using these features sparingly often yields the best results. They add an authentic touch without overwhelming the original photo. The Afterlight app makes it easy to layer these effects for a truly unique finish.
Double Exposure Techniques
For more artistic creations, the Afterlight app supports double exposure. This technique involves blending two images together to create a single, surreal composition. You might combine a portrait with a landscape, for instance, or blend abstract textures.
The app provides tools to adjust the blending mode and opacity of the superimposed image. This allows you to control how the two photos interact. Double exposure can create striking and imaginative visuals. It’s a powerful feature for expressing your artistic vision within the Afterlight app.
Customizing Your Workflow: Presets and Favorites
Efficiency is crucial in photo editing. The Afterlight app helps you streamline your workflow through custom presets and favorite tools. This means you can achieve your signature look faster and more consistently.
Creating and Saving Custom Presets
Once you’ve developed a specific editing style, you’ll want to save it. The Afterlight app allows you to create and save your own custom presets. This feature captures all your adjustments – from exposure and color grading to filters and textures – into a single, reusable setting.
To create a preset, simply make all your desired edits to a photo. Then, look for the ‘Save Preset’ option, usually found within the filters or adjustments section. Give your preset a descriptive name, and it will be available for future use. This is incredibly time-saving, especially if you edit many photos with a similar aesthetic. The Afterlight app empowers you to build your unique editing library.
Organizing Your Favorite Tools
The Afterlight app offers many tools. You might find yourself using certain adjustments or filters more often than others. To speed things up, you can often mark tools as ‘favorites.’ This places them in an easily accessible section, reducing the need to scroll through all options.
Check the app’s settings or individual tool menus for an option to ‘Add to Favorites.’ This small customization can significantly improve your editing speed. It ensures your most-used features are always at your fingertips within the Afterlight app.
Afterlight vs. The Competition
The mobile photo editing landscape is crowded. Apps like VSCO, Snapseed, and Canva offer powerful editing capabilities. Understanding where the Afterlight app stands in this ecosystem helps you choose the right tool for your needs.
How Afterlight Stands Out
The Afterlight app’s primary differentiator is its focus on authentic film emulation. While competitors like VSCO also offer film-inspired filters, Afterlight often provides a more nuanced and customizable approach to vintage aesthetics. Its unique collection of light leaks, dust, and grain textures feels more integrated and less like an afterthought. It’s a dedicated tool for those who want that specific analog look.
Another strength of the Afterlight app is its balance of powerful features and a user-friendly interface. While Snapseed offers deep control, some users find its interface a bit complex. Canva, on the other hand, is excellent for graphic design and social media, but its photo editing depth might not match Afterlight’s for pure image enhancement. The Afterlight app strikes a sweet spot.
When to Use Afterlight vs. Other Apps
Choose the Afterlight app when your goal is to achieve a film-like, vintage, or artistic aesthetic. It’s perfect for photographers who appreciate the imperfections and character of analog photography. If you want to add instant nostalgia to your photos on mobile, Afterlight is an excellent choice. You can learn more about its capabilities on Afterlight’s official website.
For quick, general enhancements and a wider range of modern filters, apps like VSCO might be suitable. If you need advanced retouching or local adjustments, Snapseed offers powerful tools. For creating social media graphics or combining photos with text and elements, Canva is the go-to. However, for that distinct film photography vibe, the Afterlight app remains a leader.
Advanced Techniques for Stunning Photos
Once you’re comfortable with the basics, the Afterlight app offers advanced features to take your photos to the next level. These techniques allow for more precise control and creative expression.
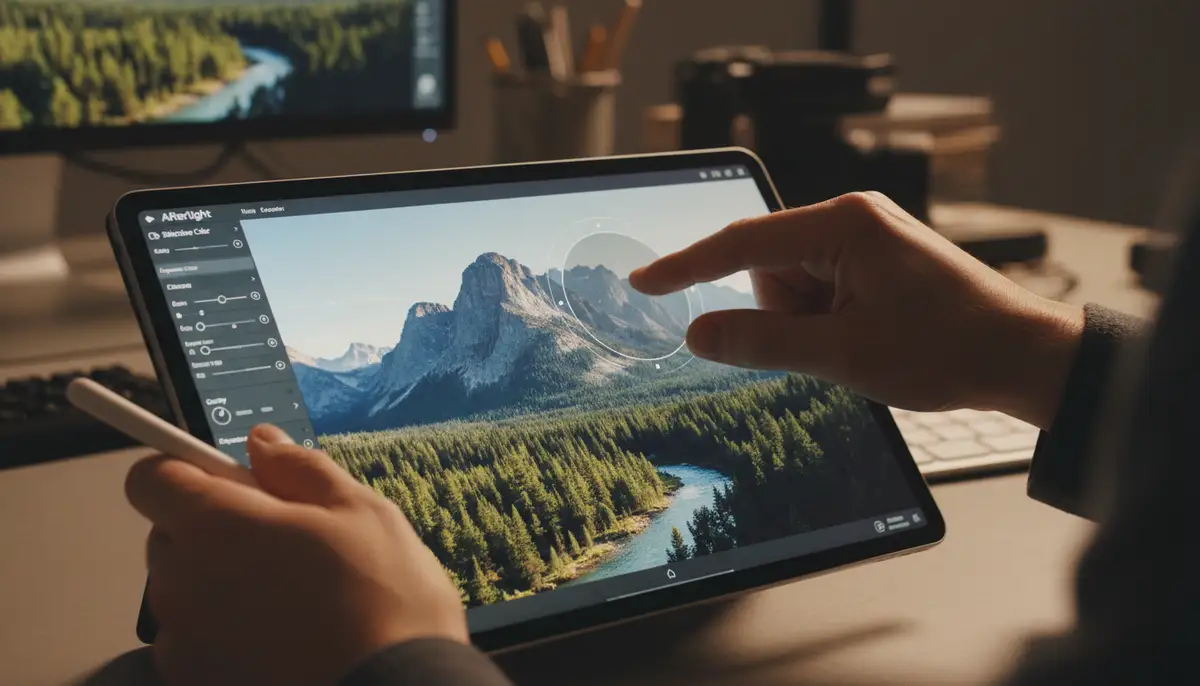
Selective Adjustments and Masking
One of the most powerful features in the Afterlight app is selective adjustments. This allows you to apply edits to specific parts of your image, rather than the entire photo. For example, you can brighten a face, darken a sky, or increase the saturation of a particular object. This is achieved through masking tools.
The Afterlight app typically offers brush tools to paint over areas you want to affect. You can also use radial or linear gradients for smoother transitions. Mastering selective adjustments will give your photos a professional polish. It ensures that every element of your image looks its best. This level of control is a hallmark of advanced editing.
Utilizing Textures and Frames
Beyond light leaks and dust, the Afterlight app provides a variety of textures to add depth and character. These can include grunge textures, subtle paper effects, or abstract overlays. Experiment with different blending modes (e.g., Multiply, Screen, Overlay) to see how they interact with your photo. This can create truly unique and artistic results.
Frames are another excellent way to finish your image. The Afterlight app offers both simple borders and more elaborate film-strip frames. A well-chosen frame can complement your photo’s aesthetic and draw the viewer’s eye. Always consider how the frame enhances, rather than distracts from, your main subject. This is a subtle but impactful way to enhance your images.
Batch Editing with the Afterlight App
If you have a series of photos taken in similar conditions, batch editing can save you a lot of time. The Afterlight app often includes features to apply the same edits or presets to multiple photos at once. This ensures consistency across your collection.
Typically, you would edit one photo to perfection, save its settings as a custom preset, and then apply that preset to other selected images. This is particularly useful for events, travel albums, or social media series. The Afterlight app makes maintaining a cohesive visual style effortless.
Sharing Your Afterlight Creations
Once your masterpiece is complete, you’ll want to share it with the world. The Afterlight app offers various options for exporting and sharing your edited photos.
Exporting Options
When you’re ready to save your photo, the Afterlight app provides several export settings. You can typically choose the image quality (e.g., high, medium, low) and file format (e.g., JPEG, PNG). Higher quality settings will result in larger file sizes but retain more detail. Always export at the highest quality if you plan to print your photos or display them on large screens.
The app usually saves the edited photo directly to your device’s photo gallery. You can then access it like any other image. Understanding these options ensures your photos look their best wherever they are viewed. The Afterlight app ensures your hard work pays off with crisp, clear exports.
Direct Sharing to Social Media
For quick sharing, the Afterlight app often integrates directly with popular social media platforms. After exporting, you’ll usually see options to share to Instagram, Facebook, Twitter, or other apps. This streamlines the process, allowing you to post your edited photos with just a few taps.
This direct sharing functionality is a huge convenience for content creators and casual users alike. It eliminates the need to manually navigate to other apps. The Afterlight app makes sharing your unique vision effortless.
Beyond Basic Edits: Afterlight for Specific Styles
The Afterlight app is versatile. It can help you achieve specific photographic styles beyond general enhancements. Let’s explore a few popular aesthetics.
Achieving a Cinematic Look
Many photographers aim for a cinematic look in their images. The Afterlight app is perfectly suited for this. Start by adjusting your contrast and adding a subtle ‘S-curve’ to your tone curve for deeper blacks and softer highlights. Then, use the split toning feature to add blues to shadows and warm tones to highlights, a classic cinematic technique.
Finally, experiment with Afterlight’s film grain and subtle light leaks. These elements mimic the texture and imperfections of movie film. The result is a dramatic, storytelling aesthetic that elevates your photos. The Afterlight app provides all the tools you need for this transformation.
Perfecting Portrait Photography
For portraits, the Afterlight app offers tools to enhance skin tones and create flattering looks. Use selective adjustments to gently brighten eyes or smooth skin without over-processing. Be mindful of saturation when editing faces; subtle adjustments are often best.
Many of Afterlight’s softer film presets can add a beautiful, dreamy quality to portraits. Consider adding a subtle vignette to draw attention to your subject’s face. The Afterlight app helps you bring out the best in your subjects, creating captivating portraits.
Creating Unique Landscapes
Landscape photography benefits greatly from the Afterlight app’s color grading and texture tools. Enhance the blues of the sky and greens of foliage using HSL adjustments. Add a touch of clarity or sharpness to bring out details in mountains or trees.
For a moody landscape, try applying a darker film preset and adding a subtle dust overlay. This can give your scenic shots an evocative, timeless feel. The Afterlight app allows you to emphasize the natural beauty and grandeur of your landscape photos.
Tips and Tricks for Every Afterlight User
Maximize your experience with the Afterlight app by incorporating these helpful tips and tricks into your editing routine.
Hidden Features to Explore
The Afterlight app often has hidden gems within its interface. Don’t be afraid to tap and hold on icons or swipe in unexpected directions. You might discover advanced options or shortcut menus. For instance, some tools might reveal more granular controls with a long press.
Additionally, check the app’s official documentation or online tutorials. The Afterlight community often shares these lesser-known features. Exploring these can unlock new creative possibilities and speed up your workflow. The Afterlight app rewards curiosity.
Utilizing the Community and Resources
The Afterlight app has a vibrant community of users. Many share their presets, tips, and inspiration on platforms like Instagram and Reddit. Following these communities can provide endless ideas for your own edits. You can also find tutorials and guides on the Afterlight official website.
Don’t hesitate to engage with other Afterlight users. Share your work, ask questions, and learn from their experiences. This collaborative environment is a fantastic resource for improving your skills with the Afterlight app. It’s a great way to stay inspired and grow as a mobile photographer.
Comparing Editing Apps: Afterlight and Others
While the Afterlight app excels in film-inspired edits, it’s useful to know how it stacks up against other powerful photography applications. For instance, if you’re interested in competitive gaming photography, you might want to learn about mastering the ACL Player App. Or, for a different kind of interactive experience, you could explore interactive family fun with the Amazon Glow App.
| Feature | Afterlight App | VSCO | Snapseed |
|---|---|---|---|
| Film Emulation | Excellent | Very Good | Limited |
| User Interface | Intuitive | Minimalist | Powerful but Complex |
| Selective Adjustments | Good | Basic | Excellent |
| Social Sharing | Integrated | Integrated | Standard |
| Custom Presets | Yes | Yes | No |
This table shows that while the Afterlight app is strong in its niche, other apps offer different strengths. For general professional controls and fast shooting performance, a powerful Android photography app like Camera ZOOM FX also provides high-quality results. Each app has its place in a photographer’s toolkit.
Troubleshooting Common Afterlight App Issues
Even the best apps can encounter issues. Here’s how to tackle common problems you might face with the Afterlight app.
App Crashes and Freezes
If the Afterlight app crashes or freezes, try these steps. First, force-close the app and reopen it. If that doesn’t work, restart your device. Ensure your operating system and the Afterlight app are both updated to their latest versions. Outdated software can often cause instability. Freeing up storage space on your device can also help, especially if you’re working with large image files.
Exporting Problems
Having trouble exporting your finished photos from the Afterlight app? Check your device’s storage. A lack of space is a common culprit. Also, try exporting at a slightly lower quality setting to see if that resolves the issue. If the problem persists, clear the app’s cache (in your device settings) or reinstall the Afterlight app. Always back up your work before troubleshooting.
Missing Features or Presets
Sometimes, users report missing features or presets. First, ensure you have the premium version of the Afterlight app, as some features are subscription-based. Check for app updates regularly, as new features are often rolled out this way. If something is still missing, contact Afterlight’s support team. They can provide specific guidance for your situation.
The Future of the Afterlight App
The Afterlight app continues to evolve. Developers are constantly working on new features, improvements, and optimizations. We can expect to see even more sophisticated AI-powered editing tools, enhanced film simulations, and perhaps deeper integration with cloud services in the coming years. The commitment to delivering a high-quality, film-inspired editing experience remains strong.
Staying updated with the latest versions of the Afterlight app will ensure you always have access to the newest tools and best performance. This dedication to innovation keeps the Afterlight app at the forefront of mobile photo editing.
Conclusion
The Afterlight app is more than just a photo editor; it’s a creative tool that brings the timeless beauty of film photography to your mobile device. From basic adjustments to advanced film presets and selective editing, it offers everything you need to transform your photos. Its intuitive interface and powerful features make it a must-have for any mobile photographer in 2025.
By mastering the Afterlight app, you can develop a unique visual style and tell your stories through captivating images. So, download the app, start experimenting, and unleash your inner artist. Ready to elevate your photos? apply photo effects now and see the difference the Afterlight app can make!