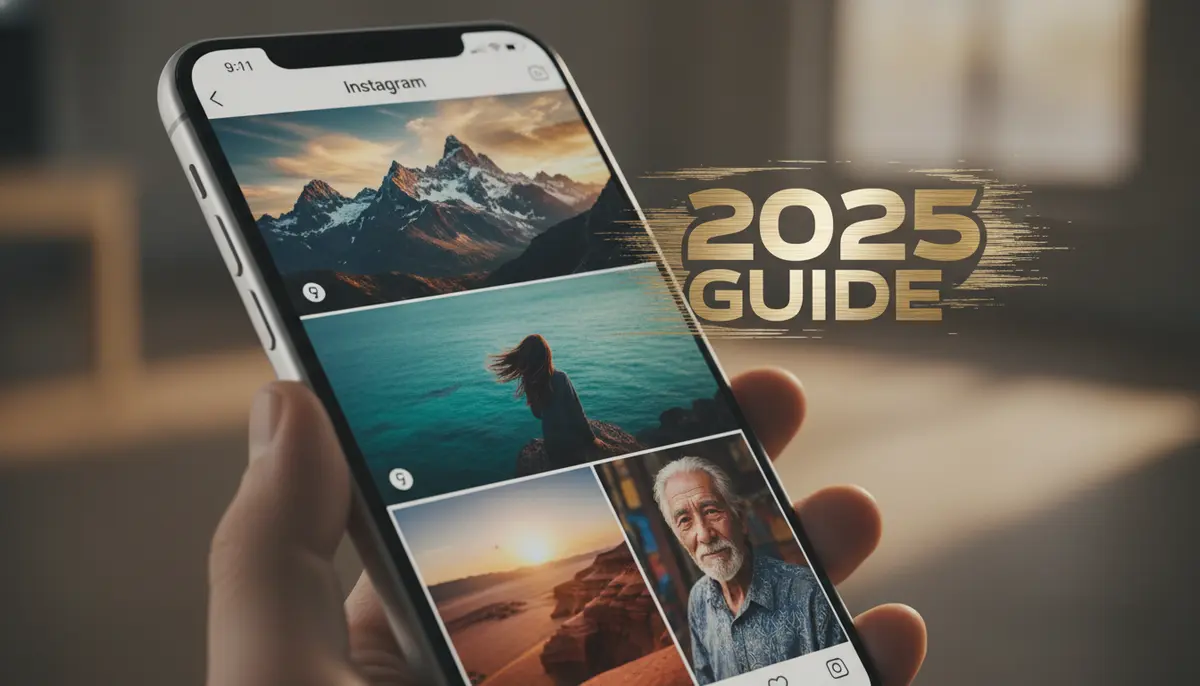
Introduction: Elevate Your Instagram Feed with Diverse Orientations
Instagram has evolved significantly. Gone are the days of strict square-only posts. Today, you have incredible flexibility to showcase your visuals. Learning how to make Instagram post with landscape and portrait photos is crucial for any creator or business. This guide will walk you through everything you need to know in 2025. You can share your content exactly as you envision it, without awkward cropping. This flexibility helps your content stand out and truly engage your audience. We will dive deep into the technical aspects and creative strategies.
Many users still struggle with resizing and formatting. They end up with poorly cropped images or missed opportunities to tell a better story. This comprehensive guide ensures you understand every step. You will learn how to make Instagram post with landscape and portrait photos effortlessly. Get ready to transform your Instagram presence!
Understanding Instagram’s Aspect Ratios: The Foundation for Mixed Posts
Before you can master how to make Instagram post with landscape and portrait images, you need to understand aspect ratios. An aspect ratio is simply the proportional relationship between an image’s width and height. Instagram supports specific ratios to ensure your photos look good across different devices. Knowing these limits is your first step to perfect posts.
Instagram crops photos that do not match its supported aspect ratios. The platform primarily allows three main aspect ratios for photos and videos. These are 4:5 for portrait, 1:1 for square, and 1.91:1 for landscape. For more detailed insights into how Instagram handles different sizes, you can explore resources like this guide on posting multiple images with different sizes. This information is vital for planning your content effectively.
- Portrait (Vertical) Photos: The ideal aspect ratio is 4:5. This means the height is slightly longer than the width. For example, a photo could be 1080 pixels wide by 1350 pixels tall.
- Landscape (Horizontal) Photos: The preferred aspect ratio is 1.91:1. Here, the width is significantly longer than the height. A common size is 1080 pixels wide by 566 pixels tall.
- Square Photos: This is the classic Instagram format, with a 1:1 aspect ratio. Both width and height are equal, typically 1080 pixels by 1080 pixels.
If your image falls outside these ranges, Instagram will automatically crop it. This can cut off important parts of your photo. Therefore, pre-editing your images to fit these ratios is a smart move. It gives you full control over the final look. This preparation is key to successfully learning how to make Instagram post with landscape and portrait photos.
Preparing Your Photos: Editing for Instagram’s Dimensions
Before uploading, proper photo preparation is essential. This step ensures your images fit Instagram’s requirements perfectly. You want to avoid any unwanted cropping or distortion. Many photo editing apps can help you achieve the correct aspect ratios. Our Camera ZOOM FX app, for instance, offers professional controls and cropping tools. It helps you resize your photos precisely.
You can use various tools to adjust your photos. Apps like Snapseed, VSCO, and PicsArt are popular choices for mobile editing. However, Camera ZOOM FX provides a seamless experience for photographers. It allows you to fine-tune your images before they even reach Instagram. This control is invaluable when you learn how to make Instagram post with landscape and portrait photos effectively.
- Crop to Ratio: Most editing apps have a ‘crop’ or ‘resize’ feature. Look for options like ‘4:5’, ‘1.91:1’, or ‘1:1’. This ensures your photo fits perfectly.
- Check Resolution: While aspect ratio is key, resolution also matters. Aim for a width of 1080 pixels for optimal clarity on Instagram. Instagram compresses images, so starting with a high-quality file is best.
- Consider the Content: Think about what parts of your photo are most important. Frame your shots with Instagram’s ratios in mind from the beginning. This saves editing time later.
Step-by-Step Guide: How to Make Instagram Post with Landscape and Portrait Photos (Single Image)
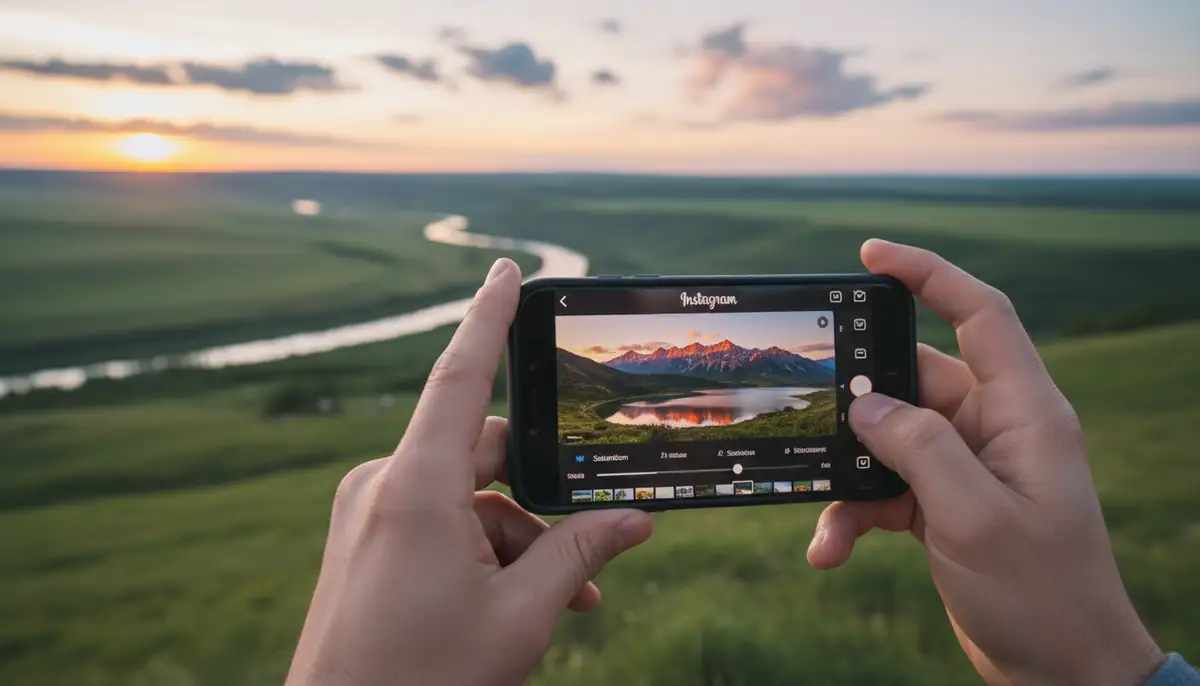
Posting a single landscape or portrait photo on Instagram is straightforward. The app has built-in tools to help you. Follow these steps to ensure your single image looks great. This is the simplest way to learn how to make Instagram post with landscape and portrait images.
- 1. Open Instagram and Tap the Plus Icon: Launch the Instagram app on your smartphone. Tap the ‘+’ icon at the bottom of your screen. This icon is usually in the center. It opens your phone’s photo library.
- 2. Select Your Photo: Browse your gallery and choose the landscape or portrait photo you want to post. Do not tap ‘Next’ yet.
- 3. Adjust the Orientation Icon: Look for a small icon in the bottom-left corner of the selected photo preview. It looks like two arrows pointing away from each other, or sometimes a square with arrows. Tap this icon once. This action will adjust your photo to its original aspect ratio (landscape or portrait) instead of the default square. For more details on this specific step, you can refer to how to use landscape and portrait formats on Instagram.
- 4. Drag and Pinch (Optional): If your photo is slightly off, you can gently pinch to zoom in or out. You can also drag the photo to adjust its position within the frame. This gives you fine control over the crop.
- 5. Tap ‘Next’: Once your photo is perfectly framed, tap ‘Next’ in the top-right corner. You will then proceed to the filter and editing screen.
- 6. Apply Filters and Edits: Use Instagram’s built-in filters and editing tools. Adjust brightness, contrast, and saturation as needed. Remember to keep your brand’s aesthetic in mind.
- 7. Write Your Caption and Add Hashtags: Craft an engaging caption. Include relevant hashtags to increase discoverability. Consider tagging locations or other accounts.
- 8. Share Your Post: When you are satisfied, tap ‘Share’ to publish your landscape or portrait photo to your feed.
This process ensures your single image retains its intended orientation. It prevents Instagram from forcing a square crop. Practicing these steps will make you confident in how to make Instagram post with landscape and portrait photos for single uploads.
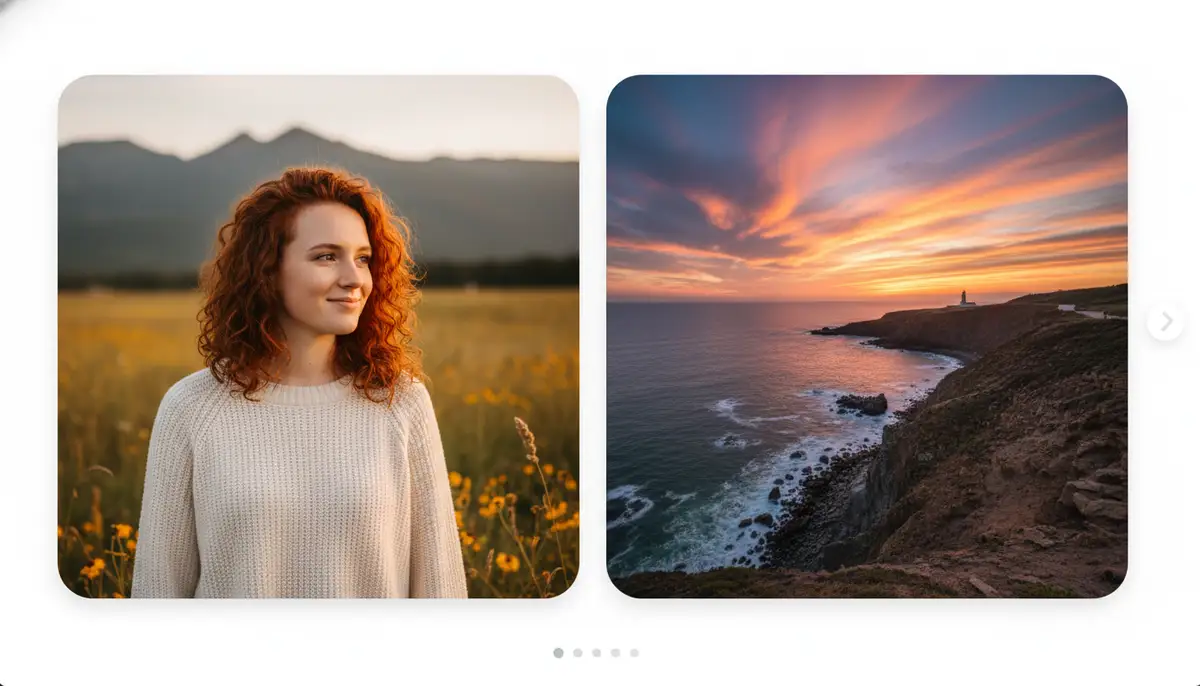
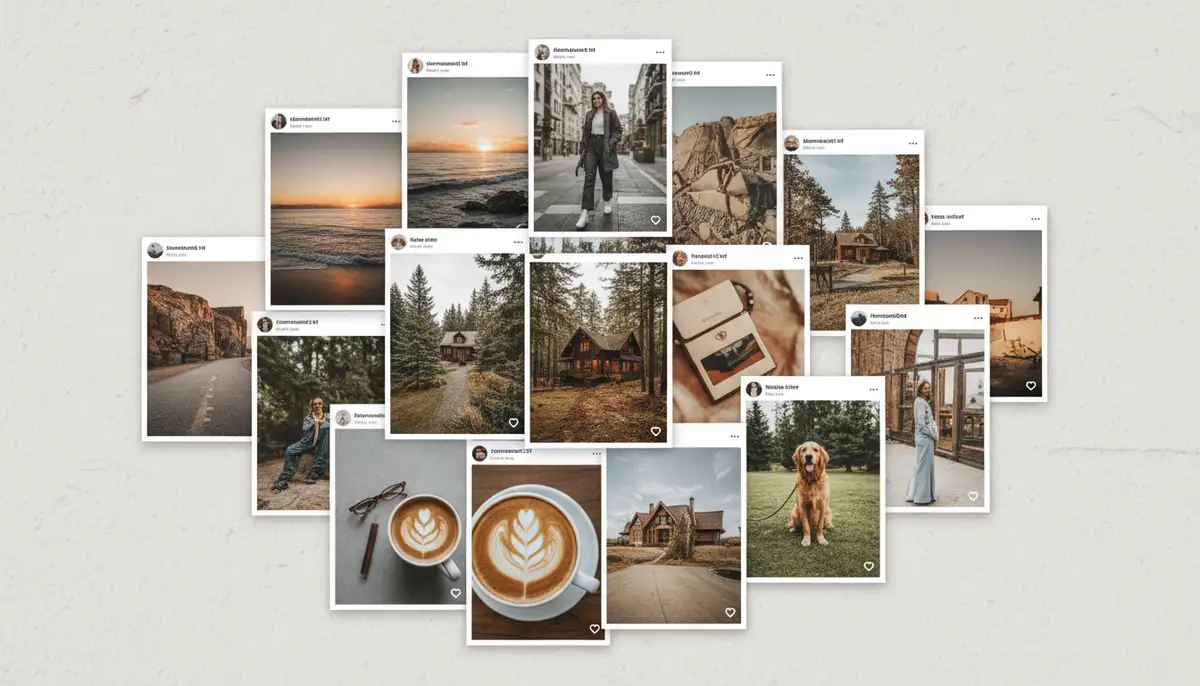
Mastering Carousel Posts with Mixed Orientations: How to Make Instagram Post with Landscape and Portrait Together
Carousel posts are a fantastic way to share multiple photos or videos in one go. The real magic happens when you mix landscape and portrait images within a single carousel. This allows for dynamic storytelling. It can truly captivate your audience. Here’s how to make Instagram post with landscape and portrait photos in a single carousel.
- 1. Start a New Post: Tap the ‘+’ icon in the Instagram app.
- 2. Select Multiple Photos Icon: In your photo library, tap the ‘Select Multiple’ icon. This icon usually looks like two overlapping squares. It allows you to choose more than one item.
- 3. Choose Your First Photo (Crucial Step): This is the most important part for mixed carousels. The aspect ratio of your first selected photo will dictate the aspect ratio for all subsequent photos in that carousel. If your first photo is portrait (4:5), all others will adapt to that. If it’s landscape (1.91:1), all others will adapt to that. Therefore, choose your dominant orientation first. If you want a mix, you need to prepare your photos carefully beforehand.
- 4. Adjust First Photo’s Aspect Ratio: Before selecting other photos, make sure your first photo is set to its desired landscape or portrait orientation. Tap the aspect ratio icon (the two arrows) in the bottom-left corner of the first photo’s preview. This locks in the aspect ratio for the entire carousel.
- 5. Select Remaining Photos: Now, select the rest of your photos. Instagram will automatically try to fit them into the aspect ratio established by your first photo. For example, if your first photo was 4:5 portrait, Instagram will crop any landscape photos to fit a 4:5 frame.
- 6. Review and Adjust Each Photo: Before tapping ‘Next’, carefully review each photo in your carousel. You can tap on individual photos within the carousel preview to adjust their crop or position. Pinch and drag to make sure the most important parts are visible. This step is vital for mixed orientations.
- 7. Apply Edits and Filters: Once all photos are correctly framed, tap ‘Next’. You can then apply filters or make further edits. Remember that edits apply to all photos in the carousel, but you can adjust each individually.
- 8. Add Caption, Hashtags, and Share: Complete your post with a compelling caption and relevant hashtags. Then, share it with your followers.
The key takeaway for carousels is that the first image sets the aspect ratio. If you want a truly mixed carousel without awkward cropping, you need to ensure all your images are pre-cropped to the same aspect ratio before uploading. For example, if you want a mix of portrait and landscape, you would crop all your landscape photos to a 4:5 portrait ratio (adding black bars if necessary) and all your portrait photos to 4:5. This ensures consistency. You can watch a helpful tutorial on
to see this process in action.
Advanced Tips for Seamless Mixed Posts
Going beyond the basics, there are advanced techniques to make your mixed-orientation posts truly shine. These tips focus on visual consistency and storytelling. They help you master how to make Instagram post with landscape and portrait photos that look professional.
- Consistent Borders/Padding: If you want to include both landscape and portrait photos in a carousel without one dictating the other, add white or black borders to your images before uploading. For instance, if your carousel’s dominant ratio is 4:5 portrait, add white bars to the sides of your landscape photos to make them 4:5. This preserves their original content while maintaining a consistent frame.
- Storytelling Flow: Plan your carousel sequence. Think about how the different orientations contribute to your narrative. A wide landscape shot might establish a scene, while a close-up portrait can focus on emotion.
- Brand Aesthetic: Maintain a consistent visual style across all your photos. This includes color grading, filters, and overall mood. Your brand’s identity should be recognizable, regardless of the photo’s orientation.
- Utilize Instagram Stories for ‘True’ Mixed Ratios: For photos that absolutely cannot be cropped or padded, consider sharing them as individual Instagram Stories. Stories offer more flexibility with aspect ratios (up to 9:16 vertical) and disappear after 24 hours, making them great for spontaneous, uncropped shares.
Common Mistakes to Avoid When Posting Landscape and Portrait Photos
Even with the right tools and knowledge, it is easy to make mistakes. Avoiding these common pitfalls will save you time and ensure your content looks its best. Pay close attention to these points as you learn how to make Instagram post with landscape and portrait photos.
| Mistake | Why It’s a Problem | How to Avoid It |
|---|---|---|
| Ignoring the First Photo’s Ratio in Carousels | Leads to awkward cropping of subsequent images, ruining composition. | Always set the aspect ratio of your first photo before adding others. Pre-crop all images to this ratio if you want true control. |
| Forgetting to Tap the Orientation Icon | Your photo will be forced into a square, cutting off important details. | Always tap the two-arrows icon in the bottom-left of the photo preview to restore the original aspect ratio. |
| Over-Cropping Important Elements | Key parts of your subject or scene are lost, diminishing the photo’s impact. | Use editing apps like Camera ZOOM FX to precisely crop and preview the final image before uploading. Plan your shots with Instagram’s ratios in mind. |
| Poor Resolution/Blurry Images | Instagram compresses photos, making low-res images look even worse. | Always start with high-resolution photos. Aim for 1080px wide for optimal clarity. |
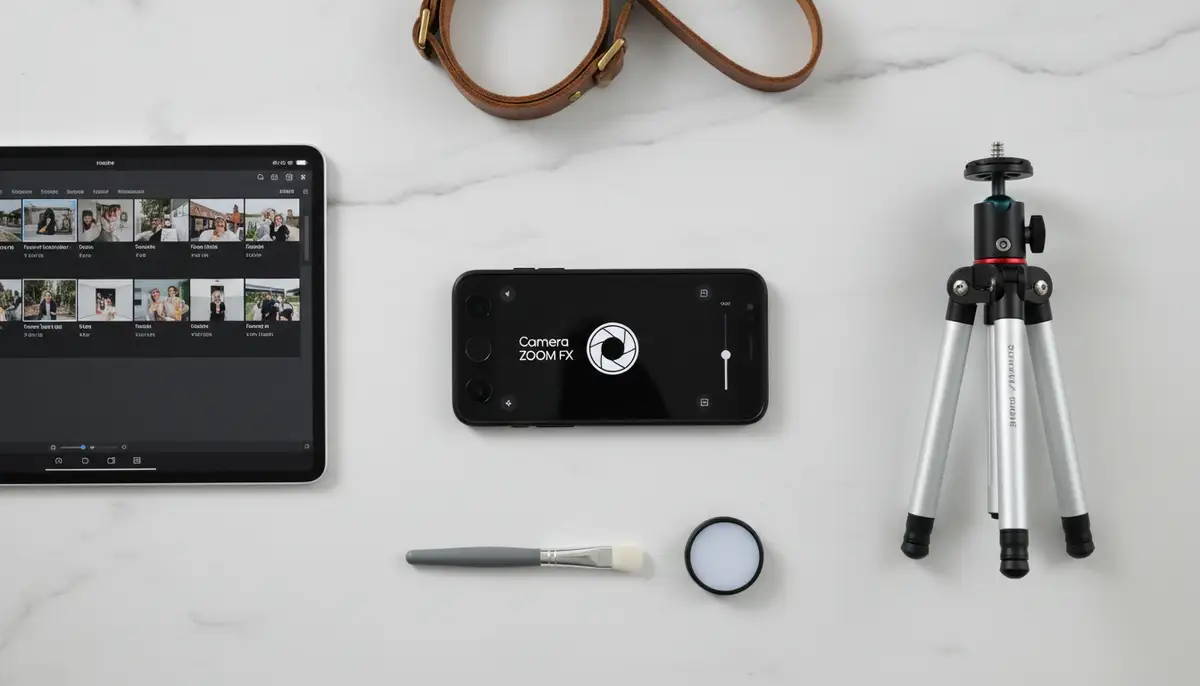
Tools and Apps to Help You Master Your Posts
Beyond Instagram’s native tools, a suite of powerful apps can assist you. These tools make the process of how to make Instagram post with landscape and portrait photos even smoother. They offer advanced editing and resizing capabilities.
- Camera ZOOM FX: Our own powerful Android photography app offers professional controls. It provides stunning filters and fast shooting performance. You can capture high-quality results. Its advanced cropping and aspect ratio tools help you prepare your photos perfectly for Instagram.
- Adobe Lightroom Mobile: Excellent for professional-grade color correction and detailed edits. It includes robust cropping tools.
- Snapseed: A free, powerful photo editor from Google. It offers a wide range of tools for adjustments, selective edits, and aspect ratio cropping. It’s user-friendly for beginners and pros.
- VSCO: Known for its beautiful film-inspired filters and editing presets. VSCO also includes basic cropping and resizing features. It helps maintain a cohesive aesthetic.
- PicsArt: A comprehensive photo and video editor with creative tools, effects, and collage makers. It’s great for adding unique touches before uploading to Instagram.
Using these apps in conjunction with Instagram ensures your photos are always optimized. They help you achieve the exact look you want. This preparation is key to consistently learning how to make Instagram post with landscape and portrait photos effectively. For more ways to enhance your Instagram presence, learn how to get the new fonts on instagram to make your captions pop.
Optimizing for Engagement: Beyond Just the Photo
Posting great photos is only half the battle. To truly succeed on Instagram, you need to optimize for engagement. This means more than just knowing how to make Instagram post with landscape and portrait photos. It involves a holistic approach to your content strategy.
- Compelling Captions: Tell a story, ask a question, or provide valuable information. Captions draw your audience in and encourage interaction.
- Strategic Hashtags: Use a mix of broad and niche hashtags. Research what your target audience is following. Aim for 5-10 highly relevant hashtags per post.
- Tagging and Location: Tag relevant accounts, brands, or collaborators. Add a location tag to increase local discoverability.
- Call to Action: Encourage comments, shares, or visits to your link in bio. A clear call to action can boost engagement significantly.
- Best Posting Times: Research when your audience is most active. Use Instagram Insights to identify optimal posting times for your specific followers.
Remember, Instagram is a social platform. Interact with your audience in the comments. Respond to messages. Building a community around your content is just as important as the visuals themselves. For further engagement strategies, consider learning how to create a story highlight on instagram to curate your best content.
Troubleshooting Common Issues
Sometimes, despite your best efforts, things go wrong. Your Instagram might not let you post landscape albums without turning pictures into a square format. This is a common frustration. Understanding why this happens and how to fix it is key to a smooth posting experience. You are allowed to post photos with an aspect ratio between 1.91:1 and 4:5. This means a height between 566 and 1350 pixels with a width of 1080 pixels. If you encounter issues, you might find answers on platforms like Quora where users discuss Instagram cropping problems.
- Issue: Photos automatically revert to square in carousels.
Solution: This typically happens if your first selected photo was square or if you didn’t tap the orientation icon on the first photo. Ensure the first photo is set to its desired landscape or portrait ratio before selecting others. All subsequent photos will then adapt to that ratio. - Issue: Image quality looks poor after uploading.
Solution: Instagram compresses images. Always start with the highest possible resolution (1080px width is recommended). Ensure your original photo is sharp and well-exposed. Avoid over-editing, which can exaggerate compression artifacts. - Issue: Instagram crashes during upload.
Solution: Check your internet connection. Clear Instagram’s cache (in your phone’s app settings). Update the Instagram app to the latest version. If problems persist, restart your phone. Sometimes, the file size might be too large; try reducing it slightly in an editing app. - Issue: Cannot find the aspect ratio adjustment icon.
Solution: The icon appears in the bottom-left corner of the photo preview after you select a photo but before you tap ‘Next’. If you don’t see it, you might be in the wrong mode (e.g., Story mode) or have an outdated app version. Update your Instagram app.
Knowing these solutions helps you quickly overcome obstacles. You can then focus on creating amazing content. This knowledge is part of mastering how to make Instagram post with landscape and portrait photos effectively.
Future Trends in Instagram Posting (2025 and Beyond)
Instagram is constantly evolving. Staying ahead of trends ensures your content remains fresh and engaging. In 2025, we are seeing continued emphasis on authenticity and high-quality visuals. Knowing how to make Instagram post with landscape and portrait photos is just the beginning.
- Video Dominance: Short-form video (Reels) continues to dominate. Integrating high-quality landscape and portrait video clips into your strategy is crucial. Think about how your static images can complement your video content.
- Interactive Elements: Expect more interactive stickers, polls, and quizzes in feed posts. These will drive engagement beyond simple likes and comments.
- AI-Powered Editing: AI tools within apps like Camera ZOOM FX will become even more sophisticated. They will offer automated enhancements and intelligent cropping suggestions. This will simplify the editing process.
- Creator Economy Focus: Instagram will further empower creators with new monetization tools and features. High-quality visual content, including diverse orientations, will be key to leveraging these opportunities.
- Immersive Experiences: Augmented Reality (AR) filters and immersive experiences will become more mainstream. Consider how your landscape and portrait photos can be part of a larger, interactive story.
Embracing these trends while maintaining your core understanding of how to make Instagram post with landscape and portrait photos will keep your profile relevant. It will help you connect with your audience in new and exciting ways.
Conclusion: Your Path to Instagram Visual Mastery
You now have a comprehensive understanding of how to make Instagram post with landscape and portrait photos. This guide covered everything from essential aspect ratios to advanced editing techniques. You also learned how to leverage carousel posts and troubleshoot common issues. Remember, consistency and quality are key. Your visuals are your voice on Instagram.
Do not be afraid to experiment with different orientations. Mix landscape shots of expansive vistas with intimate portrait details. Use tools like Camera ZOOM FX to achieve professional results. Your Instagram feed can become a dynamic portfolio of your best work. Start applying these tips today. You will see a significant improvement in your content’s quality and engagement. Ready to capture stunning moments and share them flawlessly? Explore our ultra fast capture features and elevate your photography experience.