Introduction: Why Knowing How to Crop Images in Pixlr is Essential
In today’s visual world, clear and impactful images are crucial. Whether you are a social media manager, a budding photographer, or just someone who loves sharing memories, knowing how to refine your photos is a valuable skill. One of the most fundamental editing techniques is cropping. This guide will show you exactly how to crop images in Pixlr, a popular and accessible online photo editor.
Pixlr offers powerful tools, making it a go-to choice for many users. You can achieve professional-looking results without needing complex software. By the end of this article, you will master the art of cropping in both Pixlr E (for advanced editing) and Pixlr X (for quick, intuitive adjustments). Let’s dive into enhancing your images, ensuring they always look their best.
The Power of the Crop: Why It Matters for Your Photos
Cropping is more than just cutting off parts of an image. It is a powerful compositional tool. It helps you remove distractions, improve focus, and change the aspect ratio of your photo. A well-cropped image can tell a clearer story and capture your audience’s attention more effectively.
Think about a photo with too much background noise. Cropping can eliminate those unwanted elements. It brings your subject into sharper focus. This simple adjustment can transform an average picture into an extraordinary one. It’s a key step in post-processing for any image you plan to share. Learning how to crop images in Pixlr will elevate your photography game instantly.
Understanding Pixlr’s Interface: E vs. X
Before we delve into the steps, it is good to understand Pixlr’s two main editors: Pixlr E and Pixlr X. Both are excellent, but they cater to slightly different needs. Pixlr E is the more advanced editor. It offers a wider range of tools and layers, similar to desktop software like Photoshop. It is perfect for detailed work.
Pixlr X, on the other hand, is designed for speed and simplicity. It has a streamlined interface and focuses on quick edits. You can get great results with minimal effort. We will cover how to crop images in Pixlr using both versions. This ensures you can pick the right tool for your specific task.
Step-by-Step: How to Crop Images in Pixlr E
Pixlr E provides comprehensive control over your cropping. Follow these steps to precisely adjust your images.
1. Opening Your Image in Pixlr E
First, navigate to the Pixlr website and choose ‘Pixlr E Advanced Photo Editor.’ You will see an option to open an image. You can drag and drop your file, open it from your computer, or even load it from a URL. Once your image is loaded, it will appear on the canvas, ready for editing.
2. Locating the Crop Tool
Look at the toolbar on the left side of your screen. The crop tool is usually the first or second icon. It looks like two overlapping right angles, forming a square. Click on this icon to activate the crop function. This is your first step in learning how to crop images in Pixlr E.
For a more detailed look at the tool, check out Pixlr’s own guide on their crop tool features. This resource offers additional insights into its capabilities. You’ll find it very helpful.
3. Selecting Your Crop Area
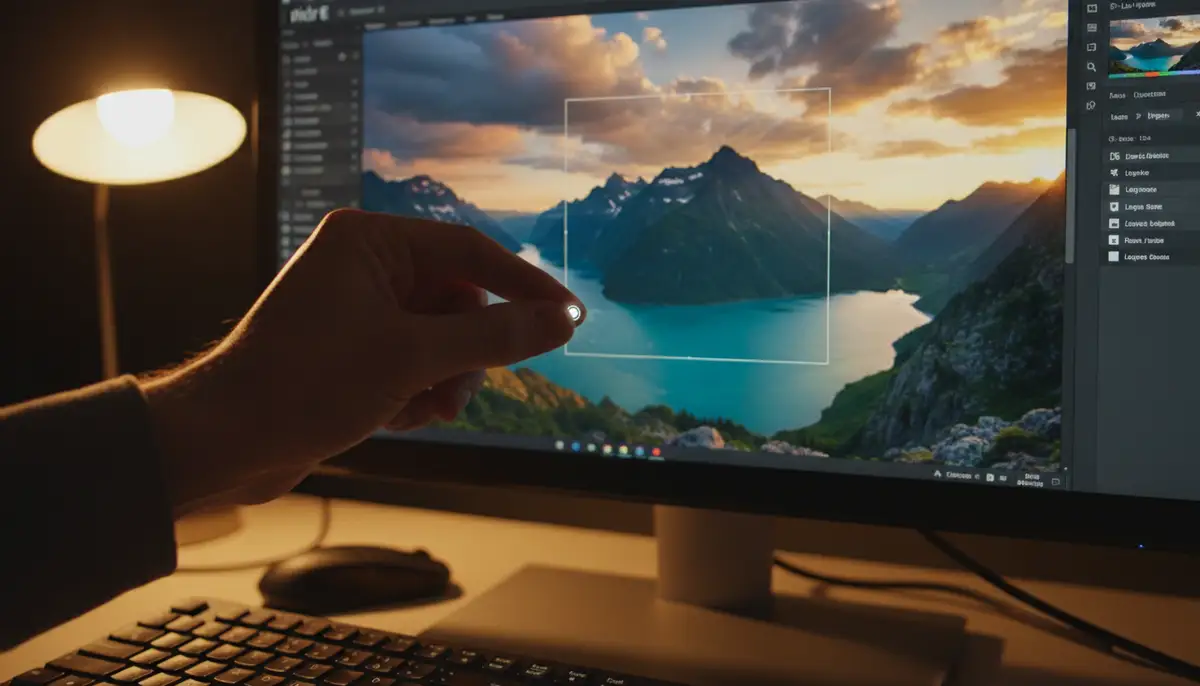
Once the crop tool is active, a selection box will appear over your image. You can adjust this box in several ways. Click and drag the corners or sides of the box to resize it. This defines the area you want to keep. The area outside the box will be removed.
You can also click inside the crop box and drag it around. This moves the entire selection without changing its size. This allows you to precisely position your desired composition. Take your time to frame your shot perfectly. This is a crucial part of how to crop images in Pixlr effectively.
4. Applying the Crop
After you have defined your crop area, you need to apply the changes. Look for a ‘Apply’ button, usually at the top or bottom of the screen, or press ‘Enter’ on your keyboard. Pixlr will then cut away the unwanted parts of your image. Your photo is now cropped to your specifications.
Advanced Cropping Techniques in Pixlr E
Pixlr E offers more than just basic cropping. You can use advanced features to achieve specific looks and ratios.
Using Aspect Ratios
Aspect ratios are important for different platforms. For example, Instagram uses square (1:1) or vertical (4:5) images. Pixlr E allows you to choose predefined aspect ratios. Look for options like ‘Constraint’ or ‘Ratio’ in the crop tool settings. Common ratios include 1:1, 4:3, 16:9, and custom dimensions. Selecting a ratio locks the proportions of your crop box. This makes it easier to prepare images for specific uses.
Free Crop vs. Constraint
When you first activate the crop tool, it might be in ‘Free’ mode. This means you can drag the corners freely. However, you can switch to ‘Constraint’ mode. Here, you can input exact pixel dimensions or choose a fixed aspect ratio. This is incredibly useful for precise work, such as website banners or print materials. Understanding this distinction is key to mastering how to crop images in Pixlr for various projects.
Straightening and Rotating
Sometimes, a photo might be slightly crooked. Pixlr E’s crop tool often includes a ‘Straighten’ option. You can draw a line along an element that should be horizontal or vertical. The image will then rotate to align with your line. This is a subtle but powerful way to improve your photo’s overall look. You can also manually rotate the image within the crop tool settings if needed.
How to Crop Images in Pixlr X: The Quick and Easy Way
If you need quick edits, Pixlr X is your best friend. It simplifies the cropping process without sacrificing quality.
1. Opening Your Image in Pixlr X
Go to the Pixlr website and select ‘Pixlr X Quick & Easy Photo Editor.’ Just like with Pixlr E, you can open an image from your device or by dragging and dropping it. The interface is cleaner and more intuitive, perfect for beginners or those in a hurry.
2. Locating the Crop & Rotate Tool
In Pixlr X, the crop tool is usually found under a section labeled ‘Crop & Rotate’ or similar. It is often one of the first options in the left-hand menu. Click on it to reveal the cropping options. This streamlined approach makes it very clear how to crop images in Pixlr X.
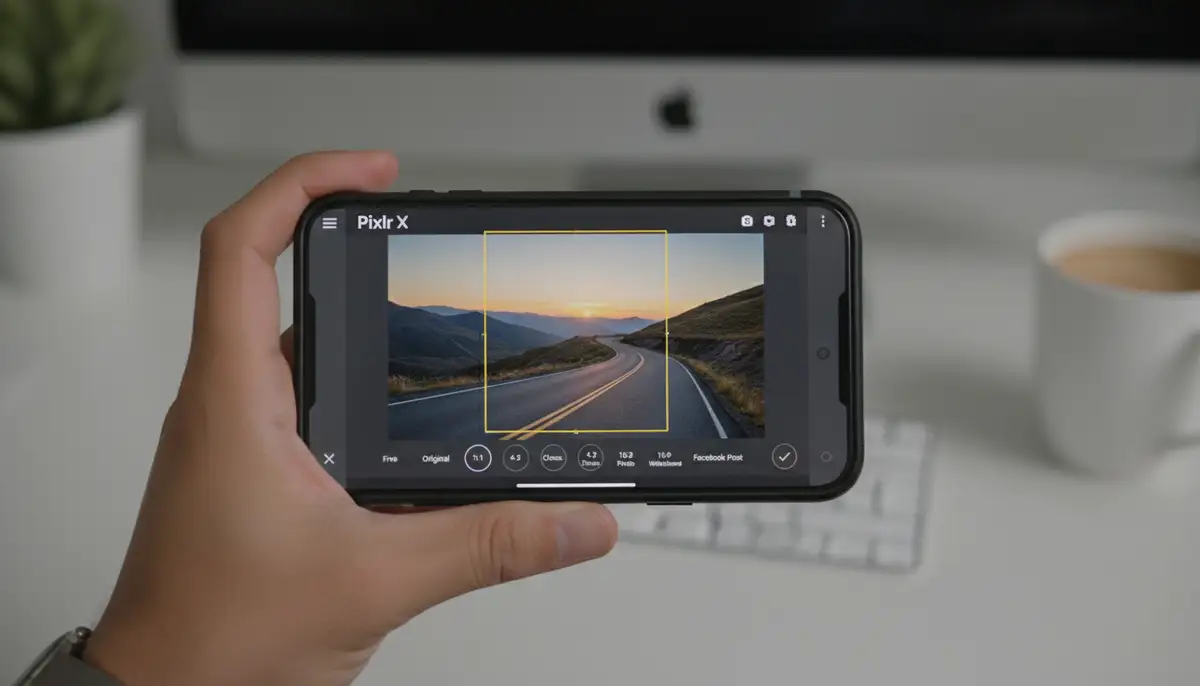
3. Using Presets and Manual Adjustments
Pixlr X offers various presets for common aspect ratios. These include square, 16:9, 4:3, and more. Simply select the preset that fits your needs. The crop box will automatically adjust. You can then drag the box to reposition the selected area. For manual adjustments, you can still drag the corners of the crop box freely. After making your selection, click ‘Apply’ to finalize the crop.
This simplified process is excellent for everyday photo editing. Many users find it faster and more user-friendly. For additional guidance on cropping and rotating, Storyblocks offers a helpful tutorial that demonstrates these steps visually.
Common Cropping Scenarios and Solutions
Knowing how to crop images in Pixlr is one thing. Knowing when and why to crop is another. Here are some common situations.
Social Media Ready Images
Each social platform has optimal image dimensions. Instagram prefers 1:1 or 4:5. Facebook often works best with 1.91:1 for links and 1:1 for profile pictures. Twitter uses various ratios. Use Pixlr’s aspect ratio presets to quickly prepare your photos. This ensures they look great without being cut off. For example, a square crop is perfect for an Instagram profile picture.
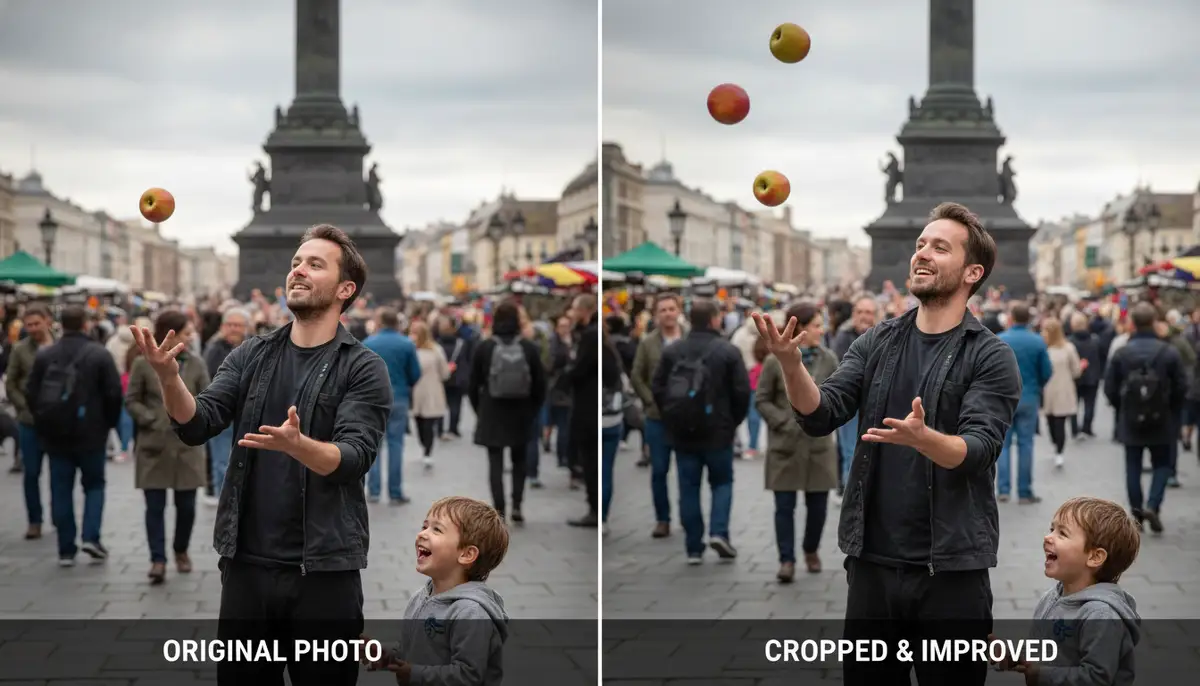
Removing Unwanted Elements
Did someone photobomb your perfect shot? Is there a distracting object in the background? Cropping is your solution. Frame your subject tightly to eliminate anything that takes away from the main focus. This technique is incredibly effective for decluttering your images. It helps draw the viewer’s eye to what truly matters.
Improving Composition
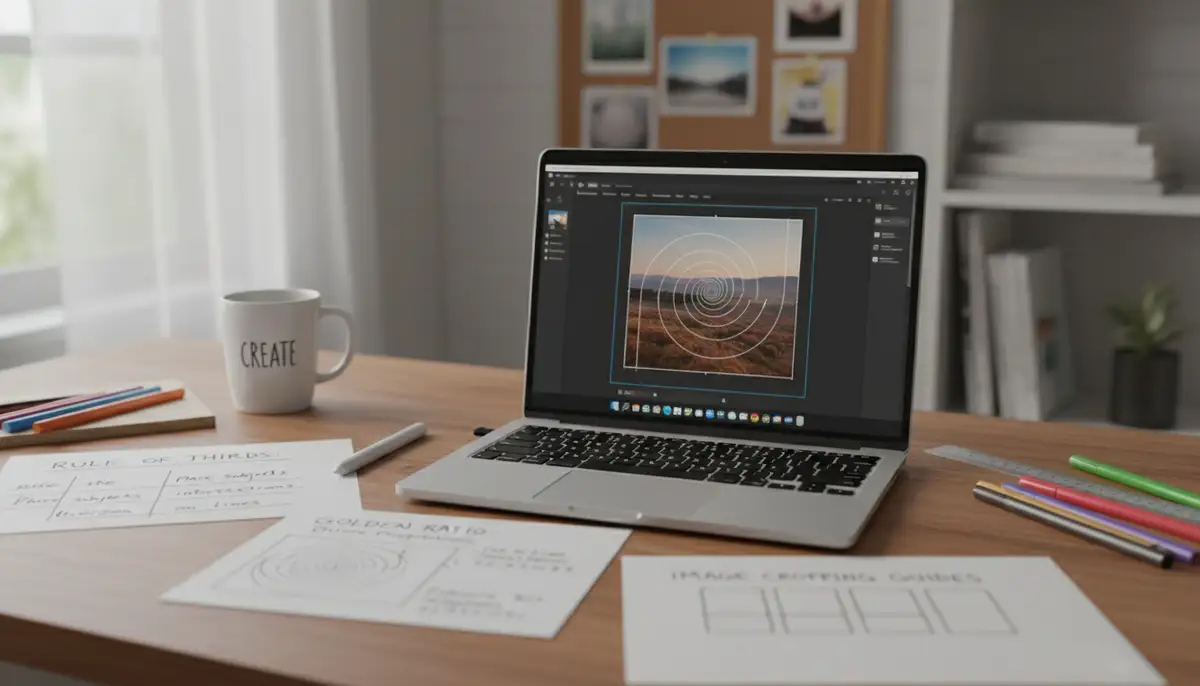
Composition is about how elements are arranged in your photo. Cropping can dramatically improve it. You can apply principles like the rule of thirds. This places your subject off-center for a more dynamic look. You can also use cropping to create leading lines or frame your subject better. A well-composed image is far more engaging. You can also explore more advanced photo effects to further enhance your composition by learning how to apply photo effects.
Tips for Perfect Cropping Every Time
Beyond the technical steps, here are some creative tips to master how to crop images in Pixlr.
The Rule of Thirds
Imagine dividing your image into nine equal sections with two horizontal and two vertical lines. The rule of thirds suggests placing your subject or important compositional elements along these lines or at their intersections. This creates a more balanced and interesting image. Pixlr’s crop tool often provides a grid overlay to help you visualize this. Use it to your advantage.
Consider the Subject
What is the main point of your photo? Crop to emphasize it. For portraits, sometimes a tight crop on the face can create intimacy. For landscapes, ensure the horizon is straight and placed strategically. Always keep your subject in mind when deciding where to cut. This intentionality improves your final output.
Don’t Over-Crop
While cropping is powerful, it is also destructive. Once you crop and save, the pixels are gone. Avoid cropping too tightly if it makes the image feel cramped. Leave a little breathing room around your subject. If you are unsure, save a copy of your original image before making drastic crops. This gives you a fallback option.
Troubleshooting Common Cropping Issues
Even with clear instructions on how to crop images in Pixlr, you might encounter minor hiccups. Here are some common problems and their solutions.
- Image Quality Loss: Cropping reduces the total number of pixels. If you crop too much from a low-resolution image, it might look pixelated. Always start with the highest resolution image possible.
- Accidental Cropping: Sometimes you might accidentally apply a crop you didn’t intend. Use the ‘Undo’ button (Ctrl+Z or Cmd+Z) immediately after the action to revert. Pixlr typically has a history panel where you can go back multiple steps.
- Crop Box Not Appearing: If the crop box doesn’t show up, ensure you’ve clicked the crop tool icon. Sometimes, a different tool might be active. Double-check the toolbar.
- Difficulty with Precise Selection: For very precise crops, zoom into your image. This allows for finer adjustments of the crop handles. You can also use the numerical input fields for exact dimensions in Pixlr E.
- Saving Issues: After cropping, remember to save your image. Go to File > Save or use the ‘Download’ option. Choose your preferred format (JPEG, PNG) and quality settings.
For a visual demonstration of cropping techniques, you might find this video helpful:
. It walks you through the process step-by-step.
Comparing Pixlr’s Cropping to Other Tools
Pixlr stands out as a robust online editor. However, it’s useful to know how it compares to other solutions. Companies like PicsArt and Canva also offer excellent cropping features. PicsArt provides a wide range of creative tools, including advanced effects and collage makers. Canva focuses on graphic design templates, making it easy to create social media posts with pre-set crop ratios.
Pixlr, especially Pixlr E, often offers a more direct and powerful photo editing experience compared to the template-driven approach of Canva. Its interface is more akin to traditional photo editors. This makes it ideal for photographers who need fine control. When you learn how to crop images in Pixlr, you gain skills transferable to other professional tools as well. Each tool has its strengths, but Pixlr provides a great balance of features and accessibility.
Beyond Cropping: Enhancing Your Photos Further
Cropping is just the beginning of your photo editing journey. Once you master how to crop images in Pixlr, consider exploring other enhancements. You can adjust brightness, contrast, and saturation. Adding filters or overlays can dramatically change the mood of your photo. Pixlr offers a wide array of these tools to experiment with.
For Android users looking for comprehensive photography control directly from their device, apps like Camera ZOOM FX offer professional-grade features. This powerful photography app provides manual controls, stunning filters, and fast performance. It ensures high-quality results right from your phone. Just as you learn how to crop images in Pixlr for post-processing, a good camera app helps you capture better images from the start. Moreover, staying updated with your apps, like learning how to update Snapchat Android, ensures you always have the latest features and bug fixes for all your photography tools.
| Cropping Goal | Pixlr E Feature | Pixlr X Feature |
|---|---|---|
| Precise Custom Size | Free Crop with numerical input | Manual drag of crop box |
| Social Media Ready | Constraint with aspect ratio presets | Aspect Ratio Presets |
| Straightening Horizon | Straighten tool within crop | Rotate slider |
| Removing Distractions | Drag crop handles to exclude | Drag crop handles to exclude |
| Improving Composition | Grid overlay for Rule of Thirds | Visual guides (less prominent) |
Conclusion: Your Path to Perfect Images with Pixlr
You now have a complete understanding of how to crop images in Pixlr. Whether you prefer the detailed control of Pixlr E or the quick simplicity of Pixlr X, the process is straightforward and incredibly effective. Cropping is a fundamental skill that every digital creator should master. It transforms your photos, making them more impactful and professional.
Remember to practice these techniques. Experiment with different aspect ratios and compositions. The more you practice how to crop images in Pixlr, the more intuitive it becomes. Your photos will thank you for the extra attention. Keep exploring Pixlr’s other tools to fully unleash your creativity. You might also be interested in learning how to check shutter count for your camera, which provides valuable insights into your equipment’s lifespan.